Recycled Material Becomes A High-End Greenhouse
Taking the time and care to grow your own food isn’t only deeply financially rewarding, but also nourishing to the body and soul. The ability to control the ways in which your fruits and vegetables are grown, rather than relying on large-scale grocery stores, will provide a healthier option for you and your family.
When it comes to home gardening, climatic conditions such as frost and freezing can make or break your yield. Creating a controlled environment for your plants to grow in can save your crops from those harsh environmental factors. Here are some unique DIY greenhouse designs to help maximize your home garden’s growing potential…
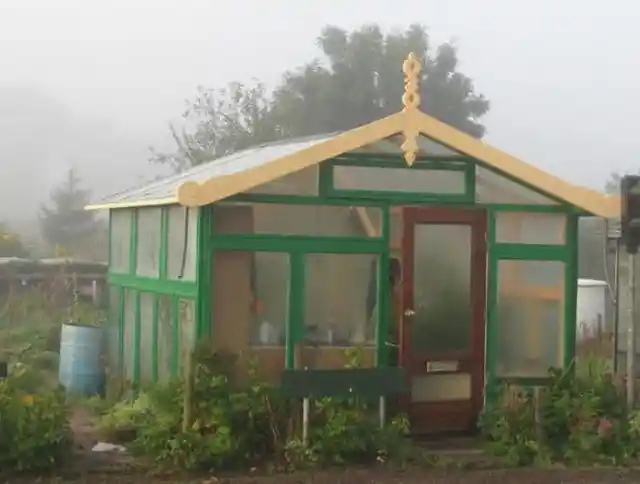
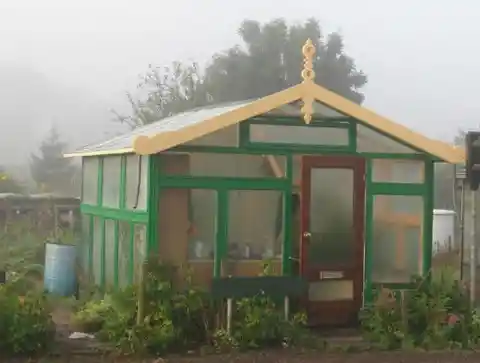
Looking at such a state-of-the-art design, it’s hard to believe that this greenhouse is made entirely from recycled materials. Not a single piece used in its construction was new. It’s quite amazing what can be made from repurposed supplies, and it’ll save a pretty penny not having to purchase new materials from a hardware store or home center.
The materials used for this specific greenhouse construction were all salvaged supplies from a renovation site, which isn’t only creative, but really very impressive – and eco-friendly. If you’re interested in learning more about this greenhouse design, visit the link below the image for more details.
The Solar-Powered Irrigation System Greenhouse
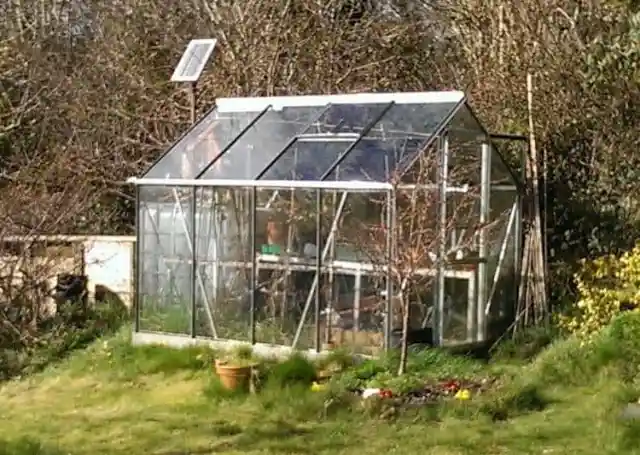
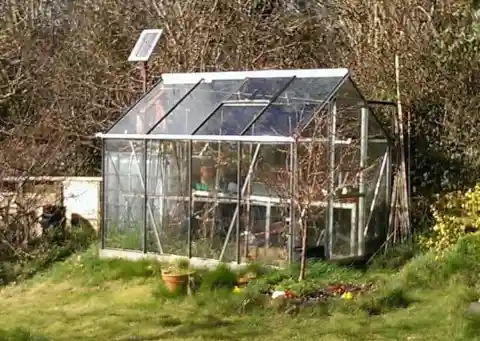
This greenhouse will require a bit more time and energy, as well as more expensive materials, to construct. It requires a fair amount of time and effort to bring to fruition. For the greenhouse portion of the construction, you could utilize many different designs from this article. The more involved aspect of this project will be setting up the solar power system.
To construct this solar irrigation system, you’ll need a water butt, a 12-volt solenoid valve, a 12-volt bilge pump, a 12-volt solar panel, a 12-volt timer, a 12-volt battery, and a 12-volt solar charge controller. In addition, you’ll need pipe work, hose clips, fittings, and a cable. To learn about creating this greenhouse, visit the link below the image for more details.
A Portable Greenhouse That Takes Only A Few Hours
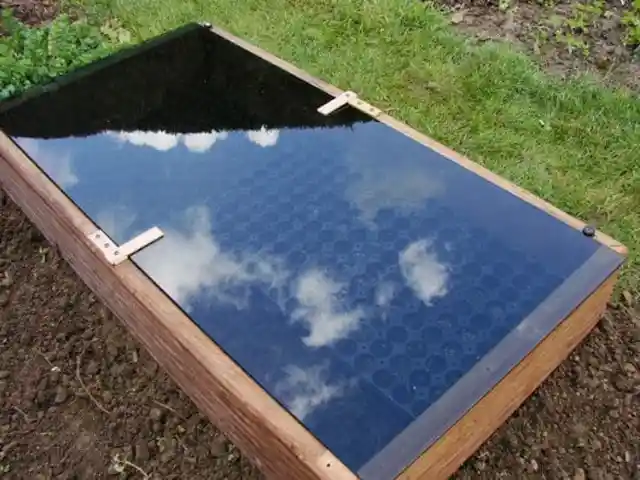
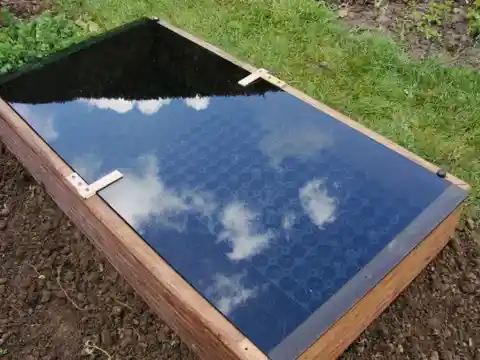
If you’re looking for something very simple and compact, this DIY portable greenhouse is the perfect option. The downside to this style of greenhouse is that it’s not meant for growing a plant to full-size. Instead, this is a seed germination greenhouse – a home where your seeds can get a head start with sprouting. Once the seeds have sprouted, the plants must be transplanted elsewhere.
For this project, you’ll need a large wooden box and a piece of glass that’s similar in size to the opening of the box. In addition, you’ll need two large wood screws, six small wood screws, four rubber O-rings matching the screw size, and a small piece of wood as thick as the glass. For easier portability, you could even put it on wheels. To learn more, visit the link below the image.
A Greenhouse For Your Tomatoes
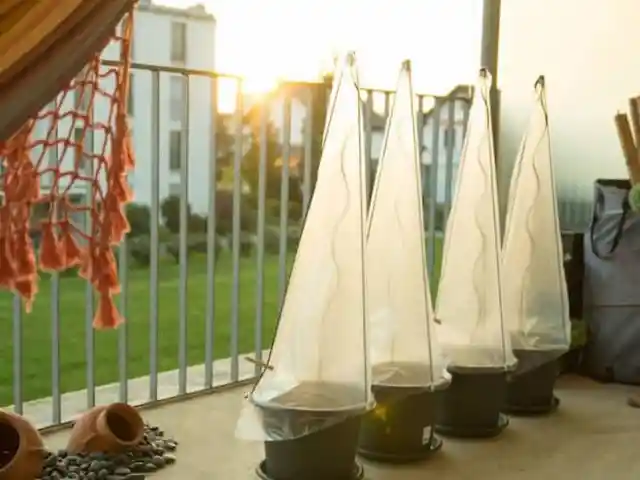
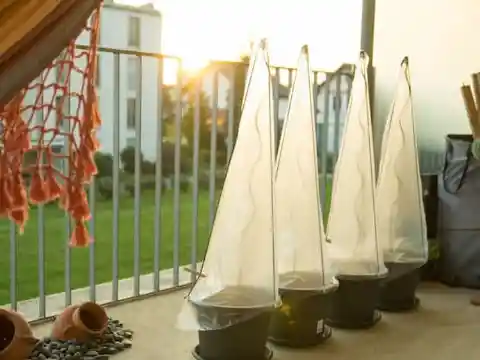
Rather than constructing a large, elaborate greenhouse to hold all of your plants at once, you could simply make a greenhouse around an individual plant. This project is extremely inexpensive, requiring materials you may already have, or could get at a local hardware store at a minimal cost. And best of all, it’ll only take a few minutes to do each one.
By utilizing this method, you can limit the need for transplanting significantly. To make it, you’ll need a tomato pole, sheets of plastic, equally-sized wooden or bamboo sticks and, of course, a potted tomato plant. You can discover all of the details required to start this project if you visit the link beneath the image.
A Greenhouse Made From Upcycled Windows
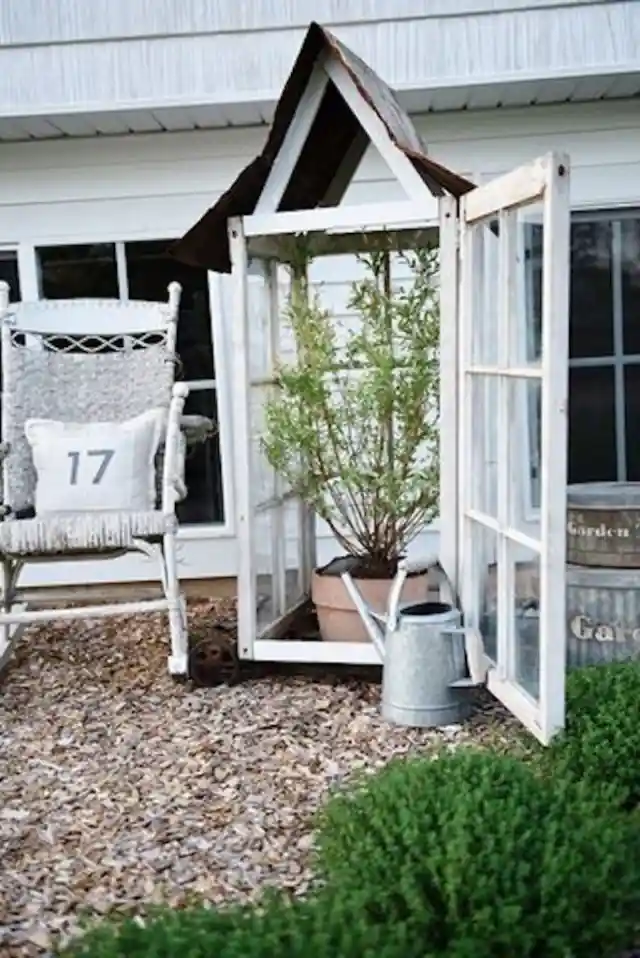
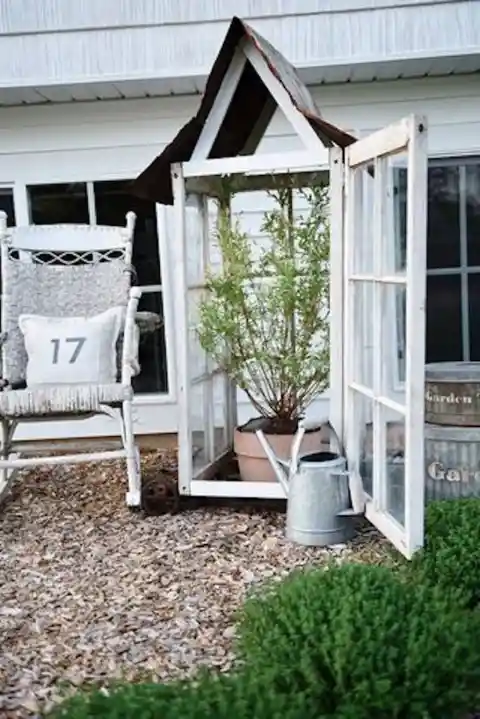
Here’s another great project for the environmentalists out there. This DIY greenhouse is made entirely from upcycled materials. The size of this greenhouse will be completely dependent on how many old windows you can get your hands on. You could make a small greenhouse with just a few, or elongate the design by adding on more windows.
For this greenhouse, you’ll need at least four large equally-sized windows, along with some reclaimed wood, nails, screws, and hinges. You could even add some shelves into the interior, allowing for more plant storage. Take note that heavy winds could blow this greenhouse over if it’s not properly reinforced. You can find complete instructions by visiting the link located under the image.
The Futuristic Greenhouse
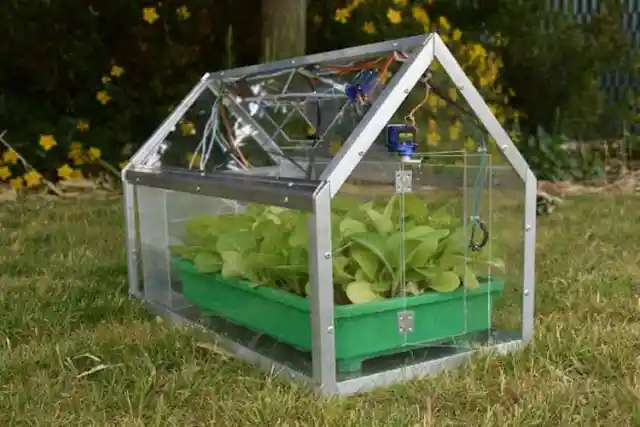
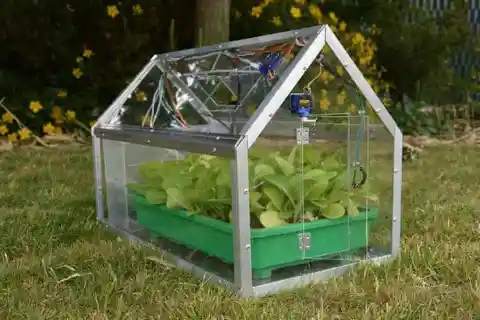
This one’s for all the coding geeks – although, even with just basic computer skills, anyone could make this techie greenhouse, as the website outlines all of the instructions and code. You’ll need lots of materials to execute this project, including an 8GB Micro SD card, a 5.2 V adapter, a Raspberry Pi 3 Model B, servo motors, MCP3008, push buttons, moisture and temperature sensors, and many others.
The list of materials for this one is definitely longer than most of the other options we discuss. However, the items are fairly accessible and inexpensive, and should come out to a total of no more than $200. If you’re willing to invest the money and time, this robotic greenhouse is sure to impress. To learn more about the process, visit the link below the image.
Upcycled Glass Jars Turned Into A Greenhouse
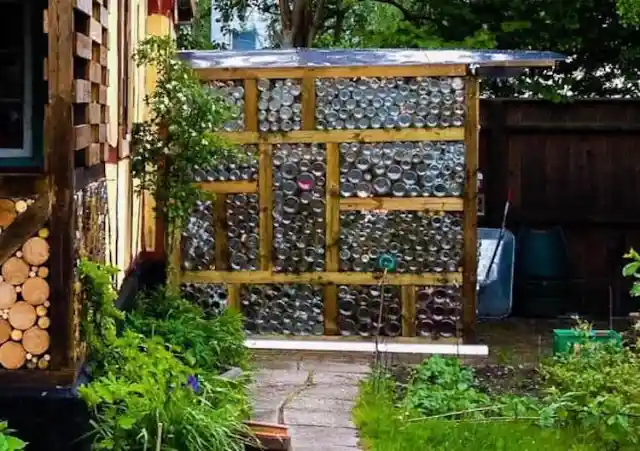
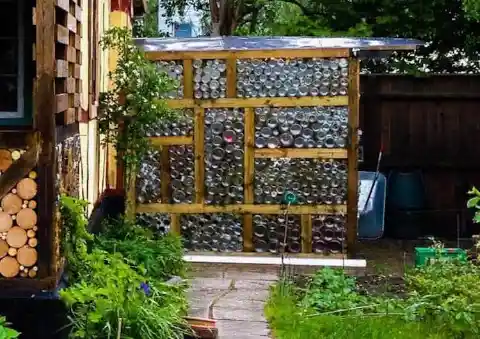
For creative upcyclers, this greenhouse design is a perfect example of the ability for recycled materials to become a beautiful piece of functional art. It’s made entirely from glass jars and fence posts. The construction of this greenhouse is very simple. The tricky part of this process is acquiring enough glass jars to fill the walls.
Although this project is quite simple, acquiring hundreds of glass jars can be a tough task. Try asking restaurants or friends and neighbors to save their glass jars for you. If you can pull together enough jars to fulfill your supply of materials, you’re sure to create a stunning greenhouse. Visit the link beneath the image for more details and instructions.
A Modular Greenhouse
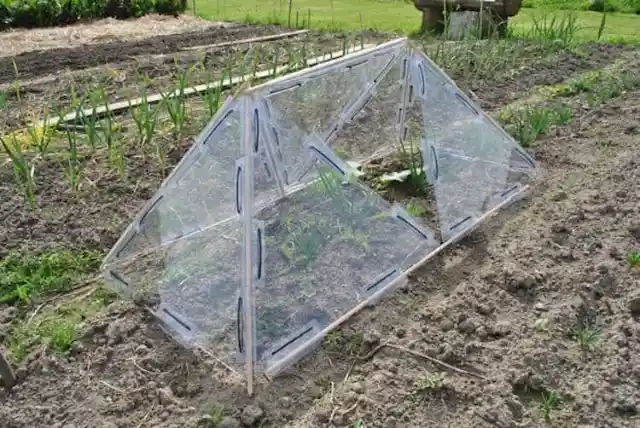
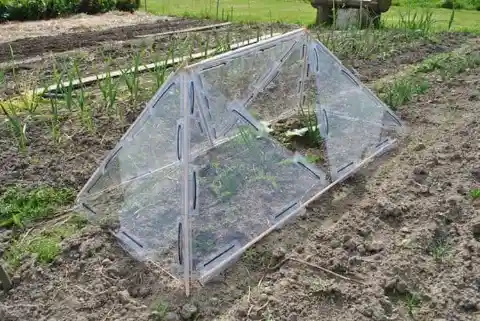
This next one is a genius solution for covering individual plants during the critical time of a plant’s growth. This greenhouse design is extremely simple to construct, and can be easily moved to the appropriate plant in the garden. With an open bottom, and stick frames that extend beneath the plastic covering, this portable greenhouse can be pushed right into the soil.
For the construction, you’ll need 2.5 mm polystyrene sheets, 1 mm PVC sheets, cable ties, and wood or bamboo poles. Some extra tools include a blade, hole-punch, ruler, pencil, hand drill, and protractor. All of the necessary equipment is easily accessible and affordable. Visit the link below the image to learn more about the process.
Geodesic Dome Greenhouse
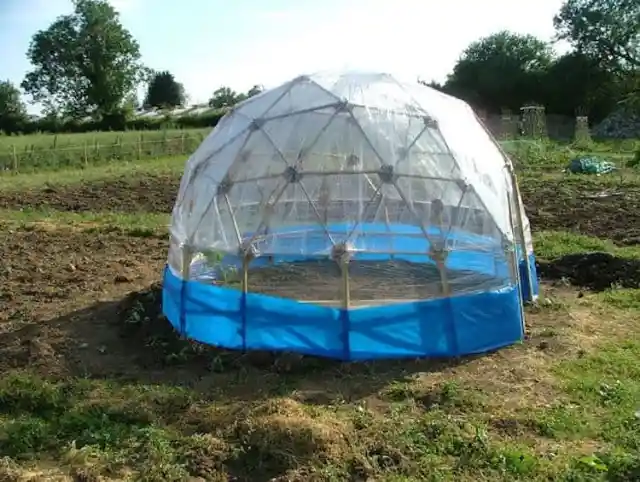
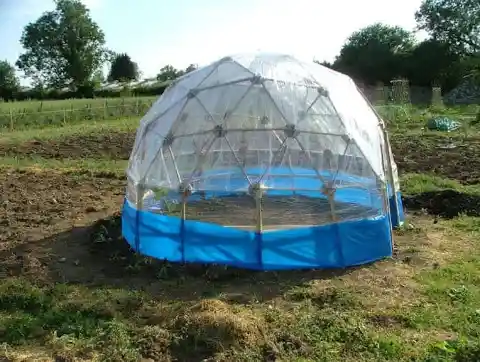
Making your greenhouse in the shape of a geodesic dome will add a nice flair to your garden. The best part about this design is that it’s made entirely from recycled materials. You may already have the necessary materials lying around at home, but if not the total cost of supplies should be no more than $20.
Geodesic domes are a known for their durability and balance – as well as their attractive design – and these are no exception. You can find a complete list of all of the materials you’ll need to complete this project in the step-by step instructions. To take a look, check out the link located below the image.
A Simple Countertop Greenhouse
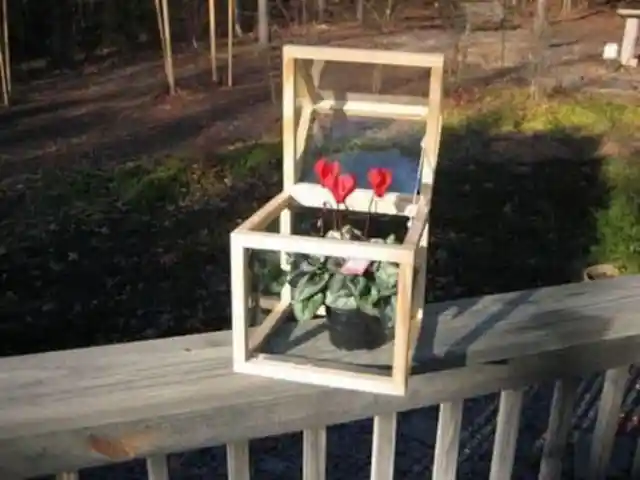
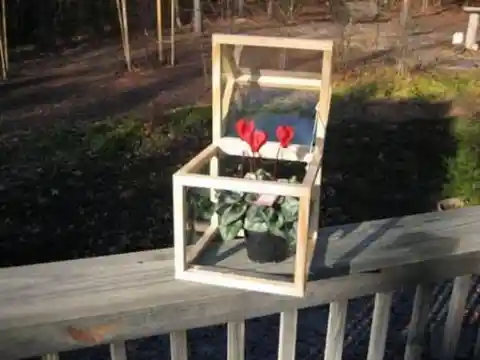
This is one of the simplest greenhouse designs to try out. For a beginning gardener, starting small can be a great first step to learning the process of construction and gardening. With just a few basic woodworking skills, this project can be completed very quickly, and only requires a very few materials. Because this greenhouse is quite small, it’ll hold only one small plant.
However, there’s no reason why you can’t make several of them in order to accommodate a few more plants. Perhaps when you’ve mastered this design on a small scale, you’ll be able to use the same concept on a larger scale project. To find a list of materials, as well as detailed descriptions of the whole process, follow the link below the image.
A High-Tech Automated Greenhouse
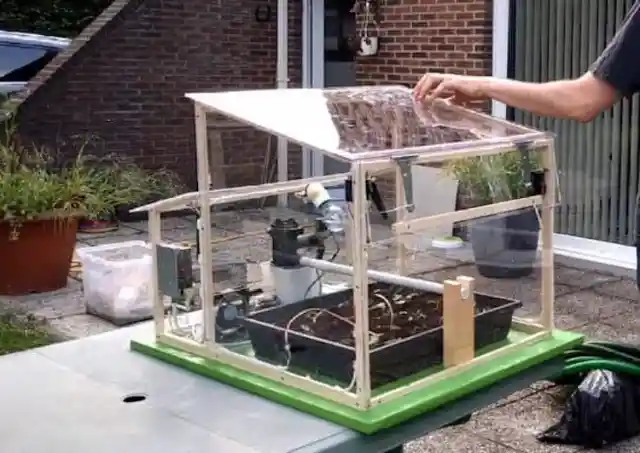
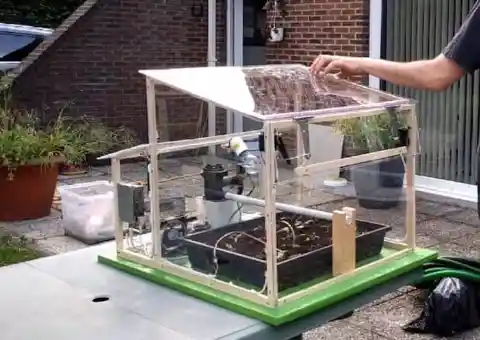
This one’s for the gardeners with a coding background. If you’re looking to use your green thumb and tech-oriented mind, this design will definitely spark your interest. This greenhouse is equipped with sensors to read the ambient temperature, external temperature, luminosity, and even the moisture level of the soil. The components of the device also react directly to sensor readings, making this greenhouse completely automatic.
For those of you who don’t have experience with coding, but would like to give this one a shot, you’ll be relieved to know that the creators of this project provide all of the necessary code required to run the device. You can also find all of the materials and detailed instructions. To get started with your automated greenhouse, follow the link located beneath the image.
The Octagonal Greenhouse
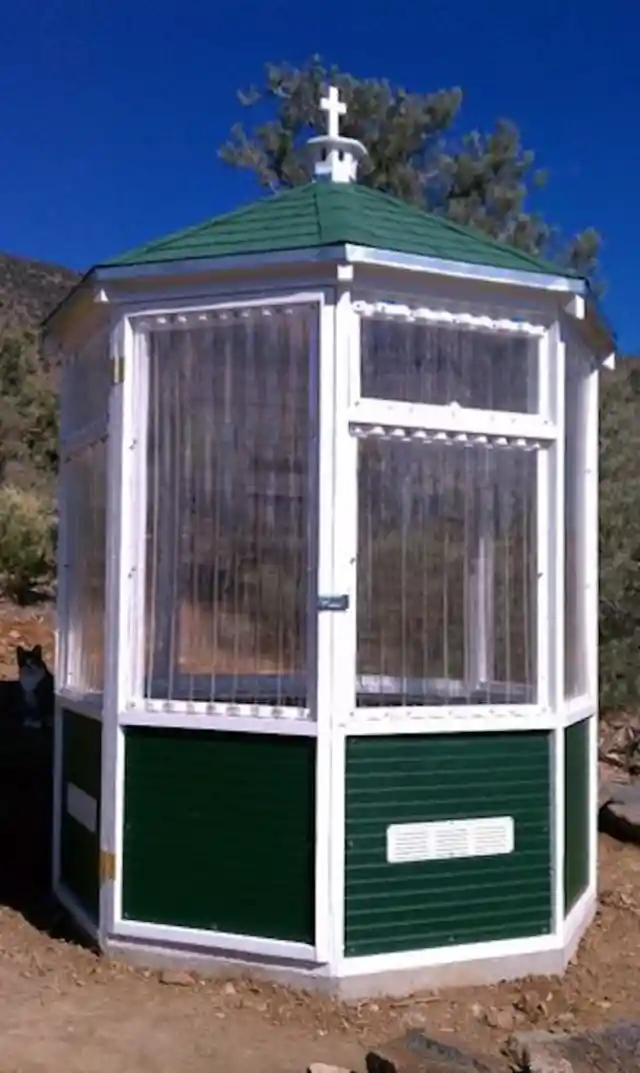
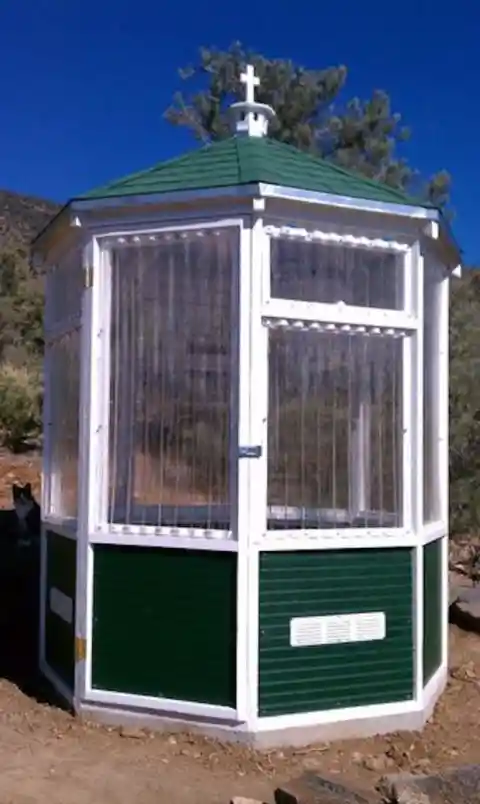
For those of you who’re tired of the classic rectangular shape of most greenhouses, changing up the geometry – such as with this octagonal greenhouse – can bring an exciting twist to your design. Before jumping in, it’s important to note that constructing an octagonal structure is no simple feat, so if you aren’t up for hard work, you may want to go with a simpler approach.
However, if you’re willing to put in the time and effort, and have some minimal experience with woodworking, this greenhouse is sure to stand out – and improve the look and feel – in your garden. To learn more about the process of construction, follow the link located below the image to find all of the necessary materials needed, along with detailed instructions and tips.
The Umbrella Greenhouse
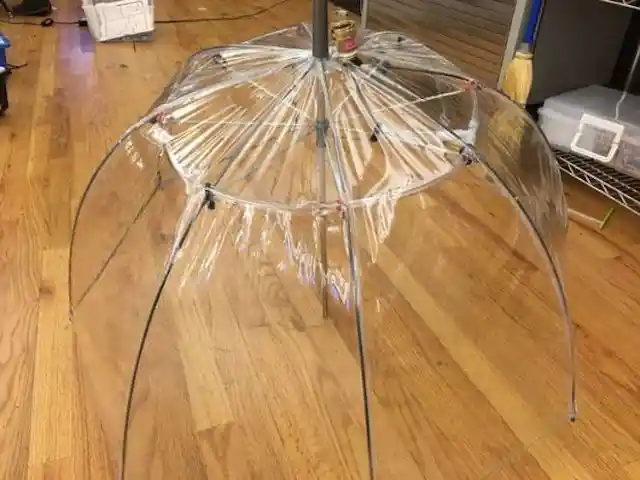
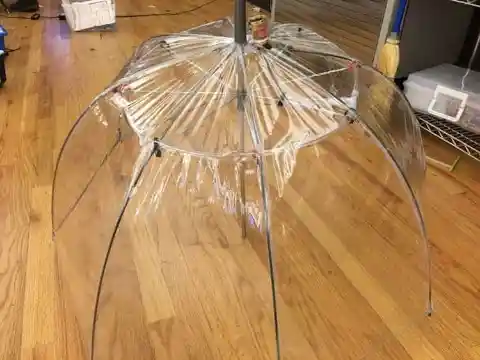
This next design is no less than a stroke of genius. Not only is it one of the most simple and inexpensive designs on the whole list, but it’s also one of the most portable, weighing almost nothing. If that doesn’t convince you to try this one out, it gets better. This greenhouse is equipped with its own sprinkler system.
In order to construct it, you’ll need to start with a clear plastic umbrella. You’ll also need six feet of 3/8″ clear plastic tubing, a garden hose adapter, a 3/8″ tube, a 3/8″ tubing T-adapter, 12 zip ties, and plumber’s tape. If you’re interested in learning more about this creative design concept, visit the link below the image for more details.
Water Bottle Greenhouse For Seedlings
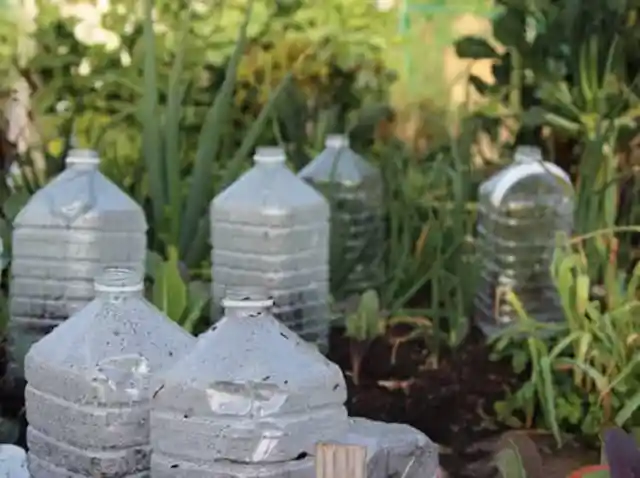
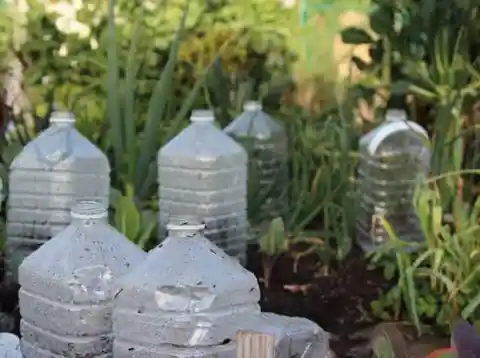
This is perhaps the simplest concept on this entire list. This greenhouse costs you absolutely nothing, and will take about five minutes to make. Now, this isn’t a classic large greenhouse for holding plants well into their maturity, so another design would be needed if that’s your need. Instead, this is a germination greenhouse, meant to support the little seedlings as they sprout up.
Despite its simplicity, it is very effective at keeping the internal temperature slightly above the ambient temperature, to help the seeds along. This is especially useful for getting a head start on warm-season plants like tomatoes and peppers. The only material you’ll need to make this greenhouse is a clear plastic bottle, along with some kind of cutting tool. That’s it.
A Greenhouse Made From A Trampoline
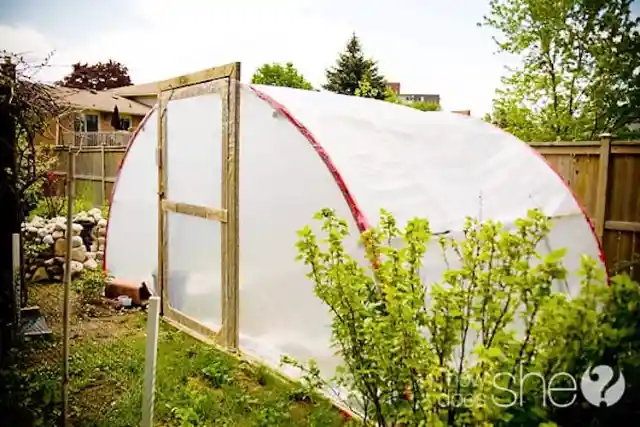
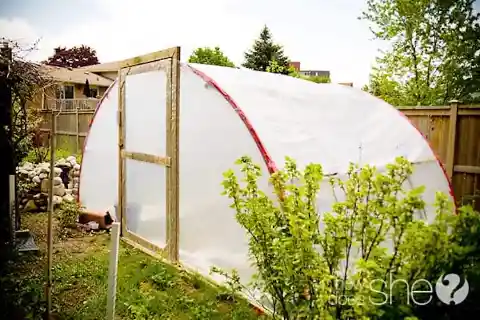
It may be hard to believe, but this greenhouse is made from a trampoline. Though that may sound confusing, you can be assured that this design is pretty simple and inexpensive to construct, and will make a beautiful greenhouse. For all of the required materials, your project budget should not exceed $100.
You’re probably wondering, “How do I turn a trampoline into a greenhouse?” The key piece is the trampoline frame. Now you’re starting to see it. You’ll need wood, piping, thermometers, plastic, screws, and red tape – and you’ll be ready to get to work. To learn more about this design and how to bring it to fruition, follow the link located beneath the image.
A Mini Makeshift Greenhouse
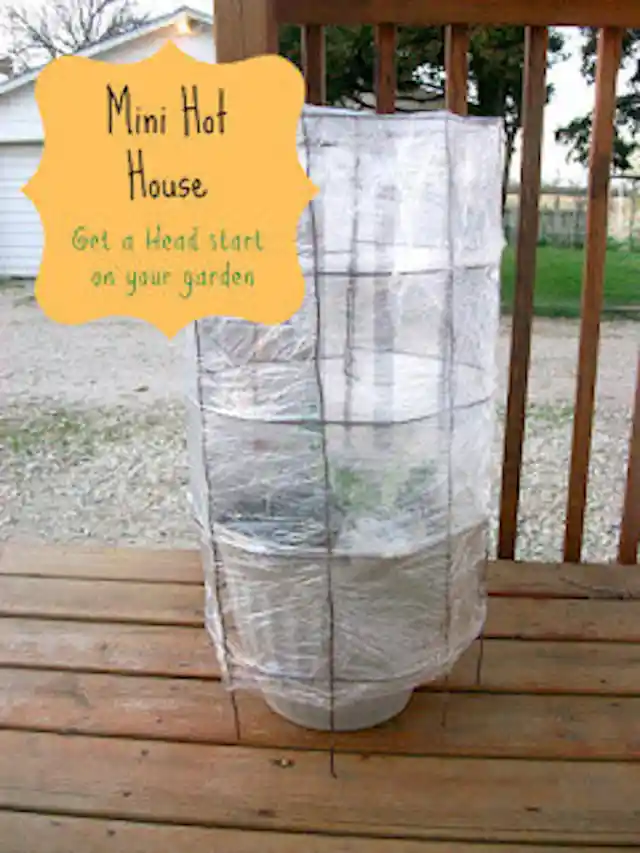
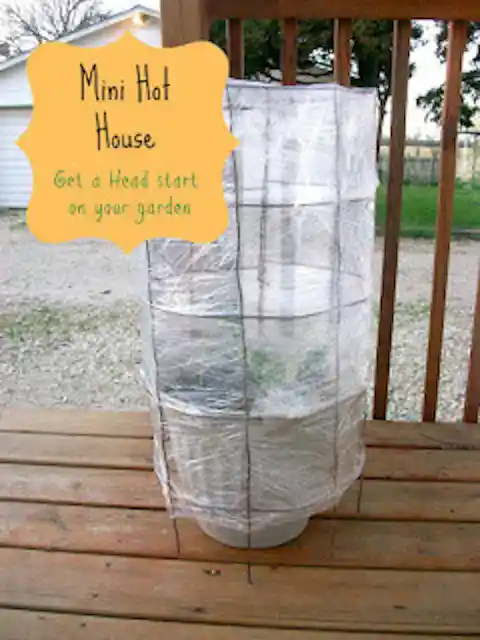
If you don’t need a huge greenhouse to hold hundreds of plants, starting with this small one might do the trick. This greenhouse will do a perfect job of holding a few small plants, as well as some seedlings, for the amateur gardener. Plus, it’s one of the simplest designs on this list as far as construction goes, and will cost you next to nothing.
In order to construct this greenhouse, you’ll need some kind of cage wire or chicken wire in order to make a cylinder. You’ll then need to wrap lots of plastic wrap around your cylinder. And that’s about it. It doesn’t get much simpler than that. To learn more tips and tricks for creating this simple greenhouse, follow the link located under the image.
A Gorgeous Cedar Greenhouse
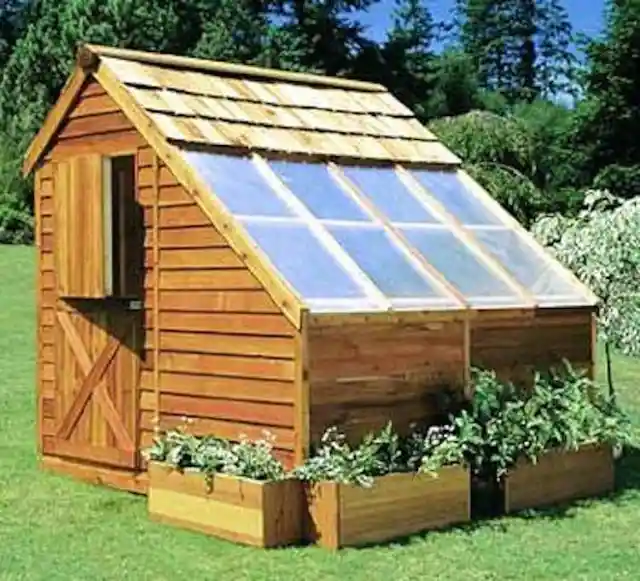
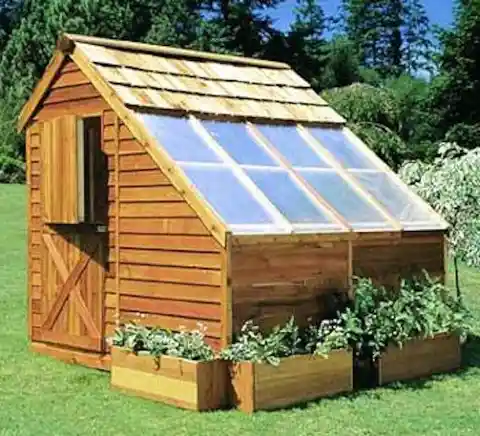
For those of you who value beauty in your garden as much as utility, this greenhouse is sure to add an attractive aesthetic to the yard. This greenhouse is made of cedar wood, and isn’t only pretty, but also very functional, allowing you to hold lots of plants. The design of the structure utilizes an angled wall, which helps to capture optimal light.
The angled wall is also filled with high-performance thermoplastic transmitters, which allows 90% of visible light to shine through, while filtering out unbeneficial and often harmful ultraviolet light rays. What’s most exciting about this design is that it can all be constructed from a kit, if you’re not interested in salvaging materials. To learn more about this greenhouse, follow the link under the image.
Fold-Down Greenhouse
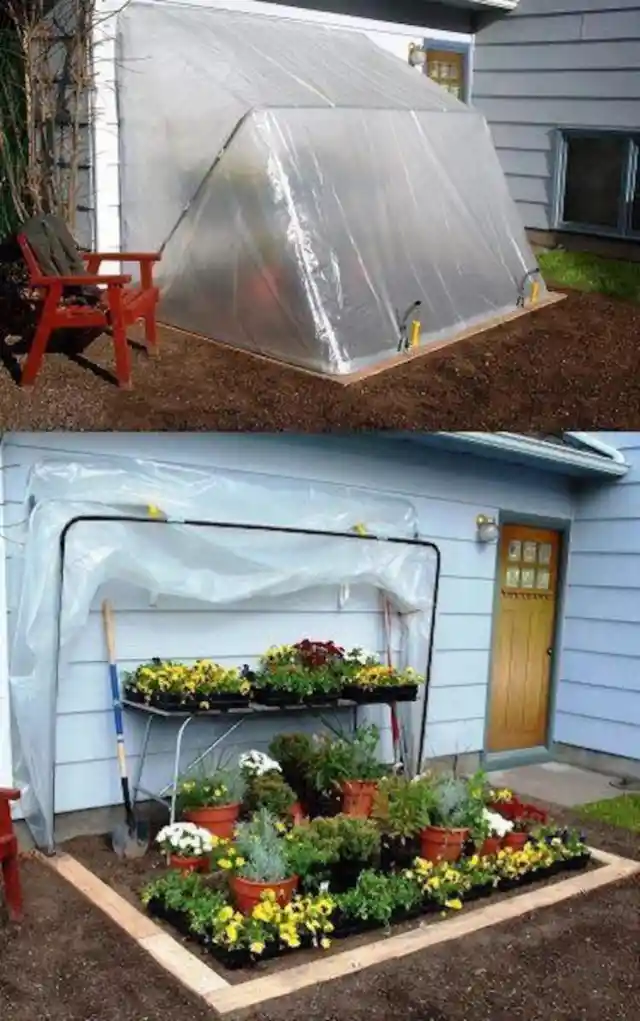
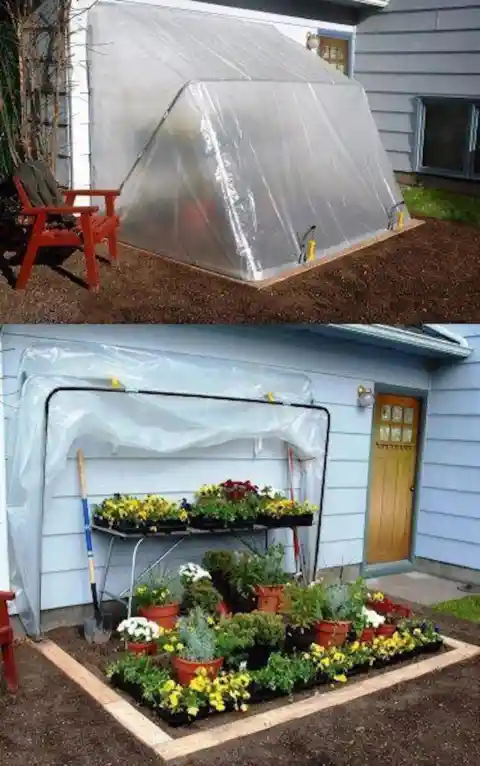
Rather than constructing a separate structure for your greenhouse, you could simply utilize a wall of your house, and build off of that. This fold-down greenhouse is just that – and it’s very simple to build. Following the instructions, you could finish this construction in one day, and get right to growing your plants. Just be sure to utilize a wall with good sun exposure.
You’ll need eight PVC pipes and eight elbow fittings, as well as tee fittings, metal conduits, and lath washer-head screws. You’ll also need bolts, plastic sheeting, light-duty utility chain, three spring links, and a few more supplies. To learn more about the process of constructing this built-in greenhouse, follow the link located below the image.
Learn How To Build A Gabled Roof DIY Greenhouse
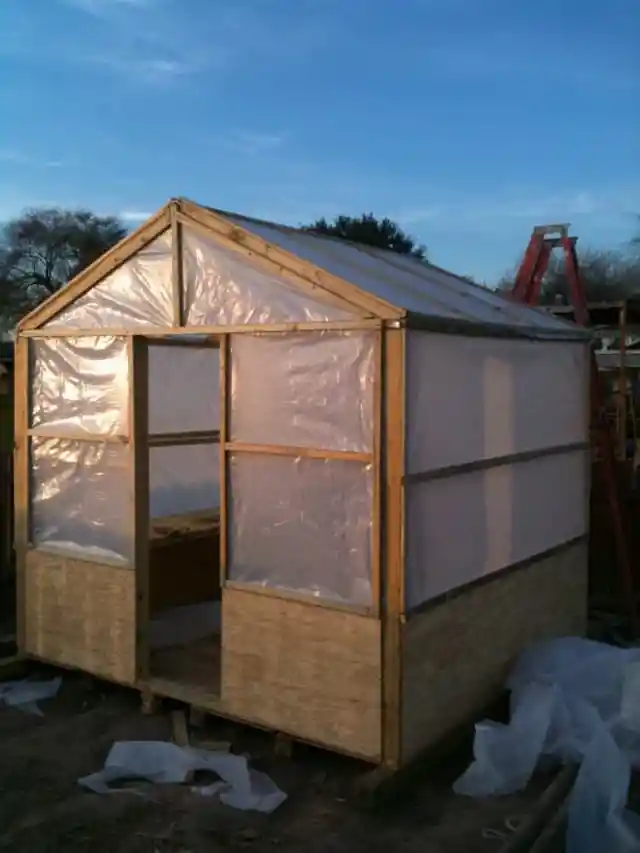
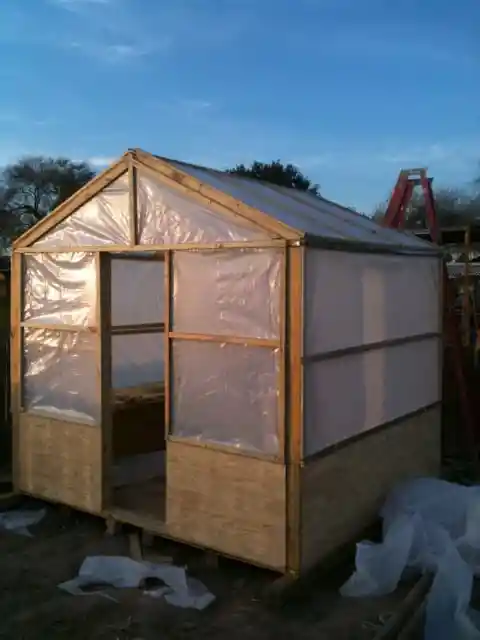
Now here’s a more standard style of greenhouse. This one will require a bit more woodworking skill in order to construct it correctly. You’ll have to make a base for the structure using six 4” x 4” x 8’ wood posts. In addition, you need some plywood sheathing, galvanized decking screws, framing lumber, exterior decking screws, wooden boards, and several other materials.
Clearly, this isn’t a project for a beginner woodworker. It’ll require quite the list of materials, and several days of construction. But, if you’re willing to put in the money and effort, you’ll be equipped with a functional full-sized greenhouse. For a complete list of the materials needed, and detailed instructions, you can follow the link located beneath the image.
Greenhouse Made Of Upcycled CD Cases
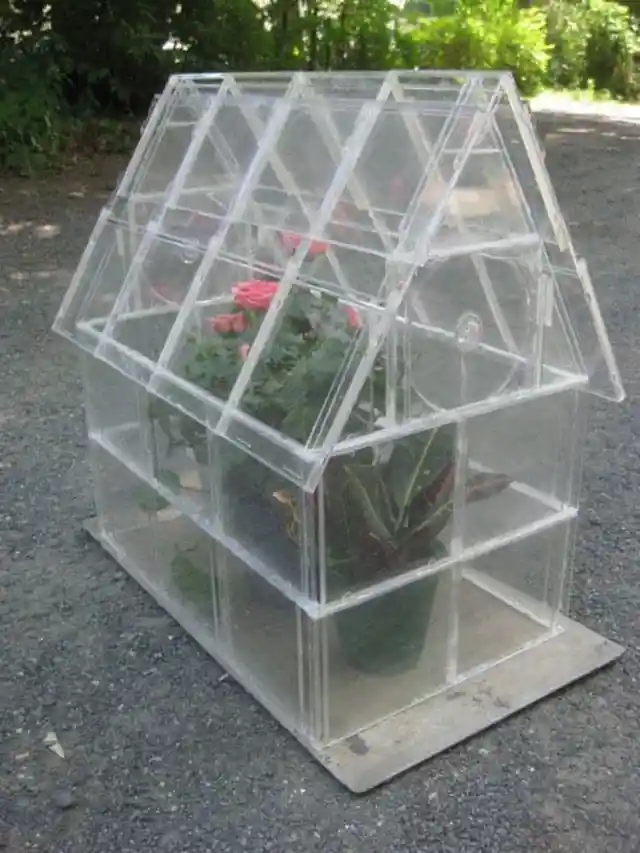
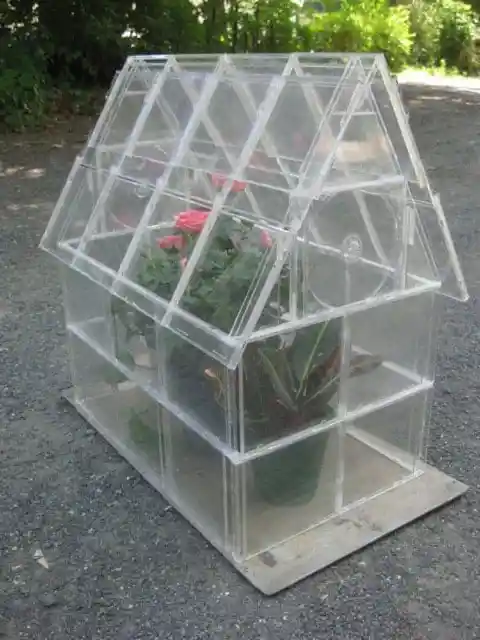
Here’s another recycled masterpiece. This beautiful greenhouse is made entirely from CD cases. You can hardly even tell, as it’s masterfully designed and executed, making it look like it’s made from new materials. Due to its small size, this is another one for a smaller garden project, but if you have lots of old CD cases lying around, why not make several?
To construct this greenhouse, you’ll need several CD cases, of course – 40 to be precise. You’ll also need safety glasses, plastic glue, painter’s tape, and tweezers. A few extra tools are a straightedge, craft knife, and cutting board. To learn more about this design and the process of construction, and to see more recycled projects, visit the link under the image.
Instant Seedling Protection
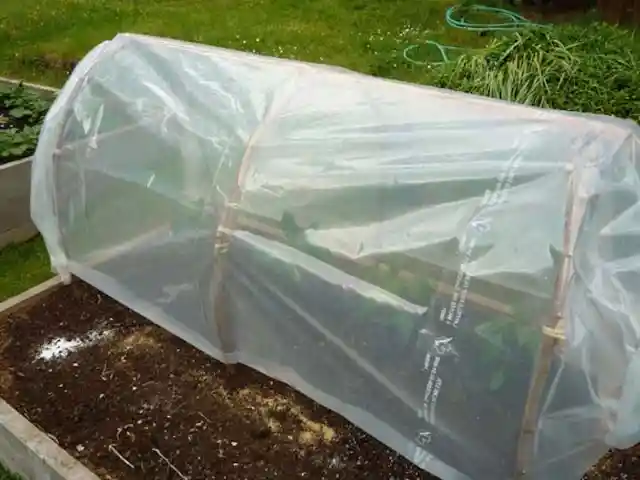
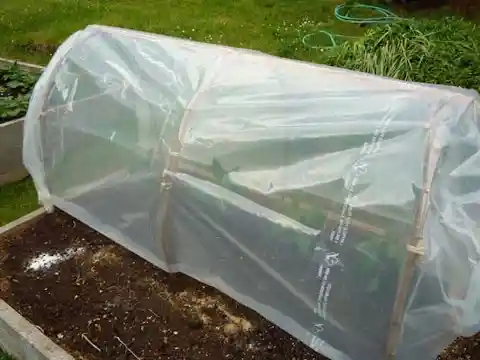
If you need a simple contraption for protecting your seedlings from harsh climates and you’re not overly focused on aesthetics, then this greenhouse concept might be the perfect quick option to fulfill your needs. Additionally, you can make this greenhouse using very few materials, and it’ll cost you next to nothing. You may even be able to use upcycled materials.
In order to make this protective greenhouse for your seedlings, you’ll need six curved branches, clear plastic sheeting, and a piece of lumber. For construction, you’ll also need a sharp cutting tool. If you want to try out this design, follow the link beneath the image to view all of the necessary materials, and find step-by-step instructions.
Barn-Style Greenhouse
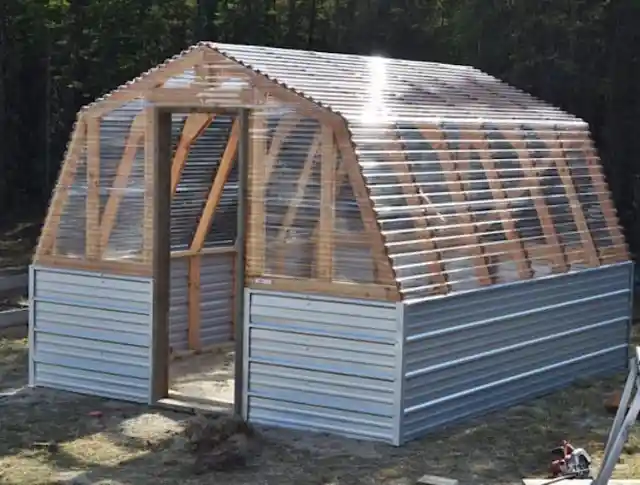
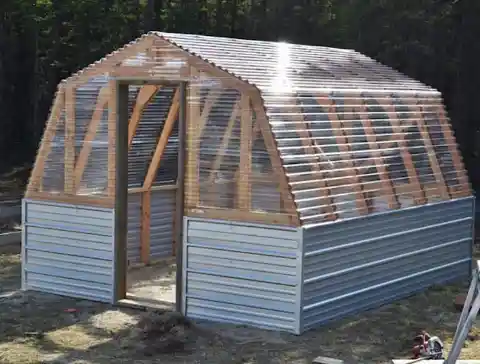
This barn-style greenhouse isn’t only functional, but also very beautiful. It’ll give a classic, yet modern look to your garden space. It’s important to note, this design is another one primarily intended for more skilled carpenters. In fact, this might be the toughest one yet. In addition, this project will require more investment financially due to the many materials needed, and a larger time commitment.
However, if you feel up to the challenge – with intention and perseverance, you’re sure to construct a beautiful greenhouse that’ll bring beauty to your garden for a long time. If you’re interested in learning what the process will look like, as well as all of the materials required, follow the link located beneath the image to learn more.
Bamboo Greenhouse
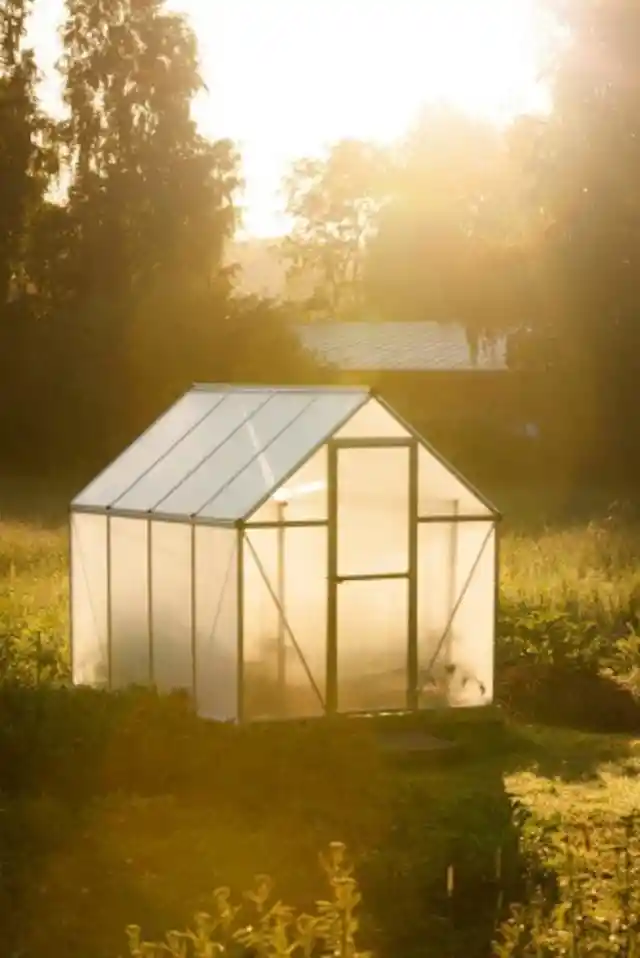
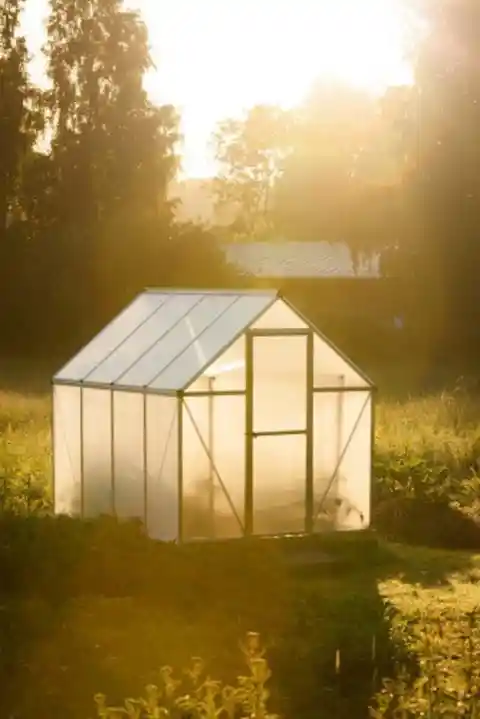
For those looking to create a larger greenhouse without the need for overly advanced woodworking skills, working with bamboo can be a great option. The required materials are simple to work with, and very inexpensive. In fact, you may be able to find someone with a bamboo patch, and use their bamboo instead of buying it.
To make this greenhouse, you’ll need various lengths of bamboo poles with a circumference of 2.5 to five inches, clear plastic sheeting, stakes, twine, cement, and Velcro strips. Additional tools will include a drill, hacksaw, post digger, a staple gun, and some nuts and bolts. You can find more details about materials and complete instructions by following the link below the image.
Hoop-Style Greenhouse
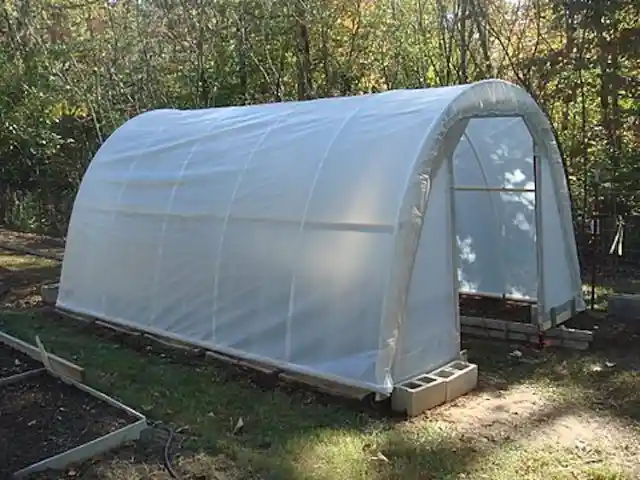
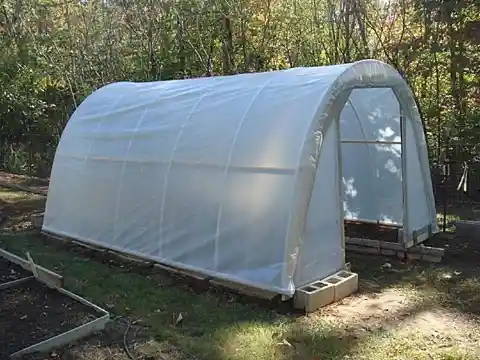
Hoop-style greenhouses are very popular with large-scale farms, as they’re simple to construct. While most hoop greenhouse are very large, you can also create a similar design on a smaller scale. If that appeals to you, this is a perfect greenhouse for your garden. Best of all, this greenhouse will only cost about $50 to build.
You’ll need to get your hands on some wood pieces, PVC pipe, rebar, and plastic sheets, as well as nails or screws, zip ties, metal banding, and hinges. If you’d like to see the full list of materials, plus find step-by-step instructions on how to construct this greenhouse, visit the link located under the image.
Large Hoop-Style Greenhouse
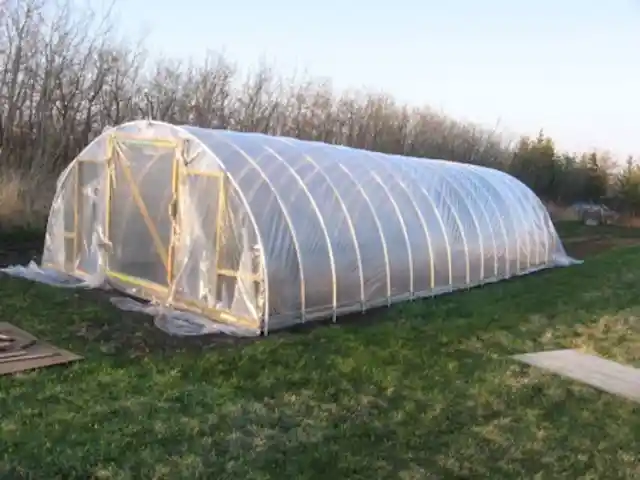
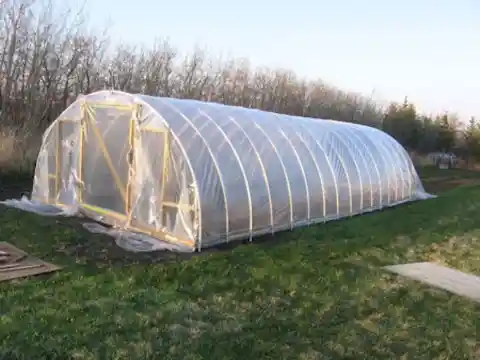
If you’re intrigued by the last one, but are looking to scale up on the size of your greenhouse, you can use similar concepts to those for the small hoop greenhouse at a larger level. This specific design is for a hoop-style greenhouse that is 12’ x 32’. This design has a very professional look to it, but won’t break the bank, and it’s fairly easy to construct.
The materials that you’ll need in order to build this greenhouse are similar to those stated previously, but on a larger scale. You can purchase all of the necessary supplies for no more than $400. That may sound like a lot, but it’s pretty inexpensive considering the size of this structure. To learn more about the materials and instructions for construction, visit the link below the image.
Plastic Bottle Greenhouse
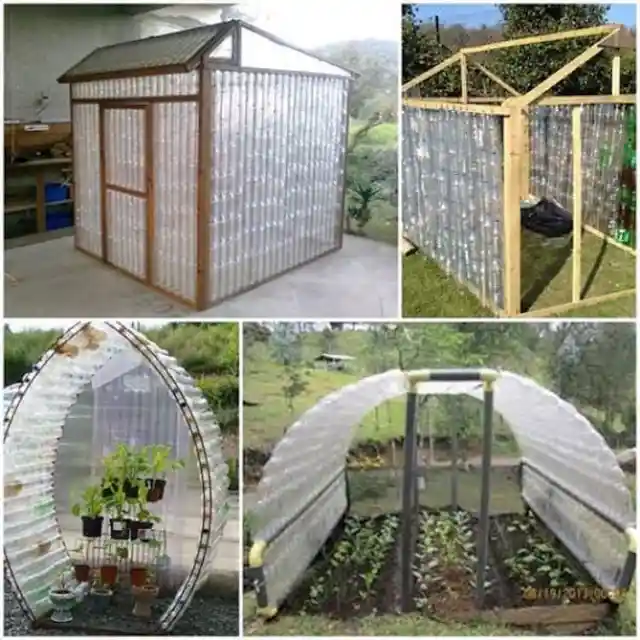
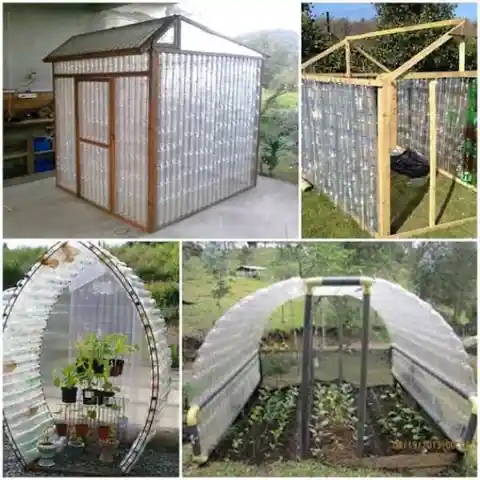
The upcycling continues with this incredible greenhouse constructed with plastic water bottles. With millions of plastic bottles polluting oceans and landfills all over the world, finding ways to put them to use rather than throwing them out is a step in the right direction. The only part of this project that requires woodworking skills will be the frame.
Once that’s complete, it’s a matter of finding enough water bottles to fill in the walls. The bottoms of the bottles are cut off so that they can be stacked on top of each other, with a garden cane running through the center to keep them in line. To read about the rest of the process, visit the link below the image.
Three-In-One: Greenhouse, Clubhouse, Yoga Hut
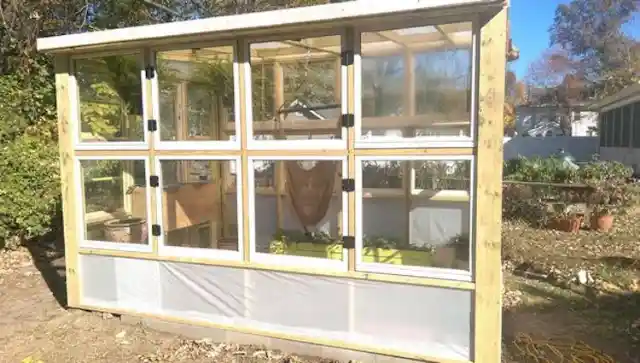
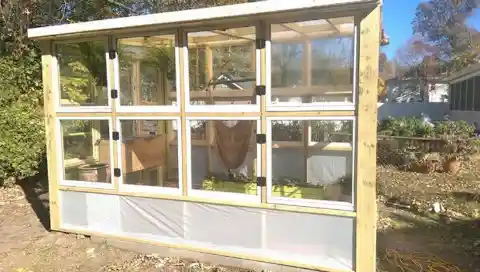
When designing a new structure in your garden, it’s great to stack functions. This means that one element supplies more than one function in order to maximize efficiency and minimize waste. A great rule of thumb is for every element to have at least three functions. This greenhouse is just that. It doubles as a yoga hut, as well as a clubhouse.
This concept can even be applied to some of the other greenhouses on this list. It’s great to get creative with your designs and think about how you can fit more elements into a smaller space. To learn more about the materials and instructions for this construction, follow the link located below the image.
A Greenhouse Made From Wooden Crates
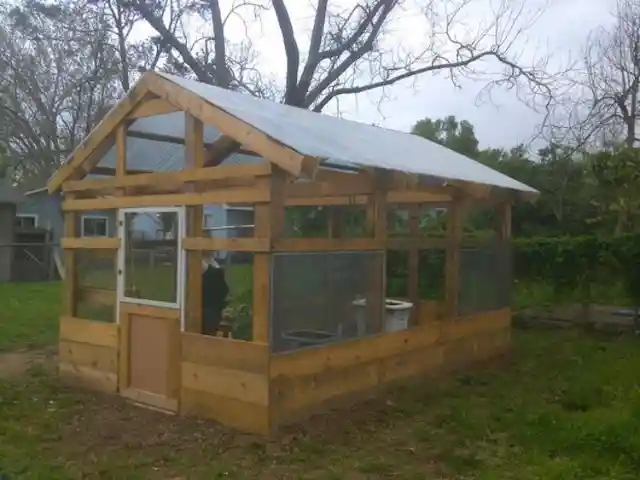
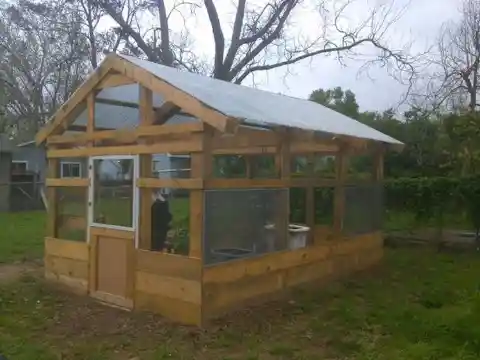
The list of recycled materials that can be used to make a greenhouse goes on and on. Here’s yet another amazing example; this design uses old wooden crates or pallets. While the materials are simple and cheap, the construction will require a bit more woodworking expertise in order to bring it to fruition, and make it functional and beautiful.
Rather than just putting materials together, this project will also require some dismantling of existing materials. So get your hammer out and start pulling nails. To see the full list of materials and tools, as well as all of the necessary instructions, follow the link located under the image.
An Indoor Cat-Proof Germination Greenhouse
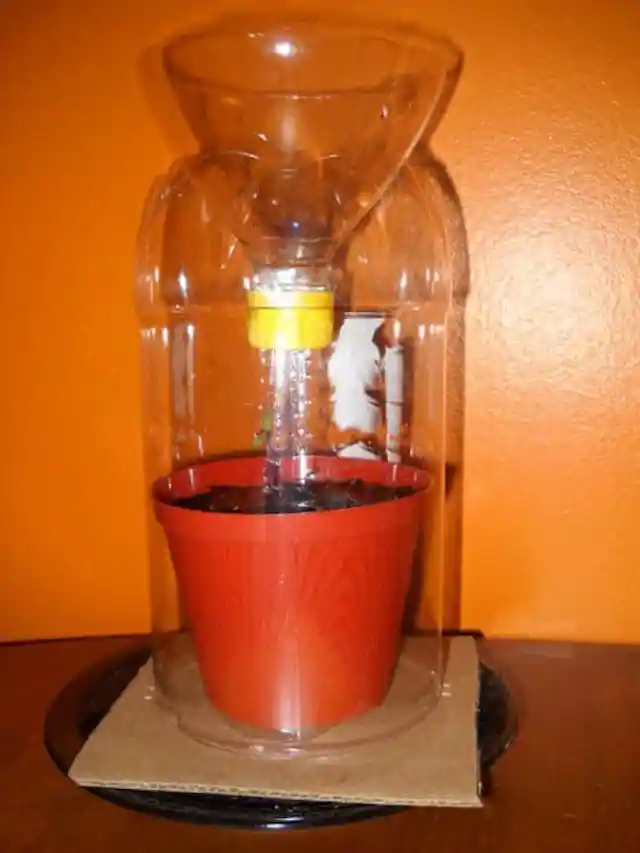
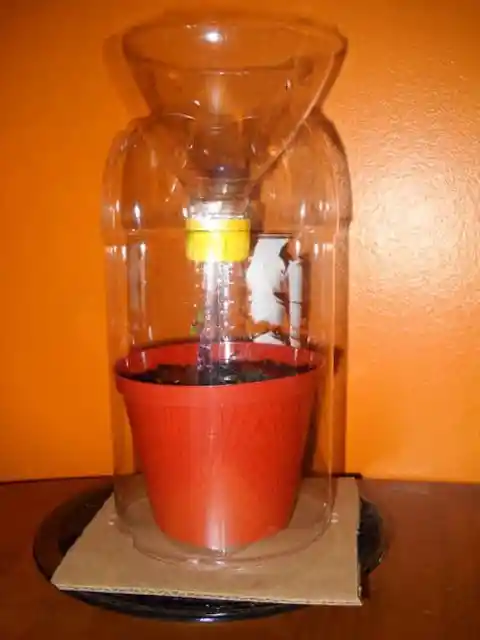
While we love our furry friends and all that they bring to the home, they can also cause some mischief in the house if you’re not careful. When it comes to plants, one swipe of a tail can destroy a vulnerable seedling, making it difficult to keep an indoor greenhouse and a cat in the same space. This solution makes it possible.
To make this indoor greenhouse, you’ll need a two liter soda bottle with any labels removed. You’ll also be using a knife, hammer, punching tool, fishing line, a piece of cardboard, and a small nail. To learn all of the steps and materials required to make this project, visit the link located below the image.
Germinate Your Seeds In An Old Egg Carton
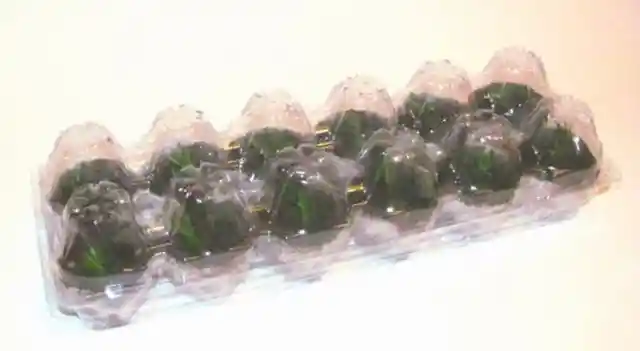
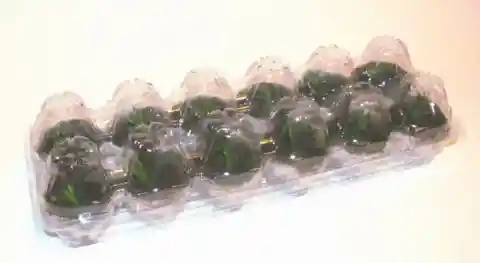
Many people use seed trays to germinate seeds. These can be purchased online or at garden stores, and are usually made of plastic. Instead of buying something new, you can use a material you likely already have sitting around that would be thrown out otherwise. This convenient resource is a simple egg carton. It makes the perfect home for your maturing seeds.
To make a germination greenhouse for your seeds, you’ll need a clear plastic egg carton, a cardboard egg carton, potting soil, and scissors. It’s that simple. And the process to create it is very easy too. To start this project, visit the link located below the image for instructions, and a complete list of all materials.
A Veranda-Style Greenhouse Using Recycled Materials
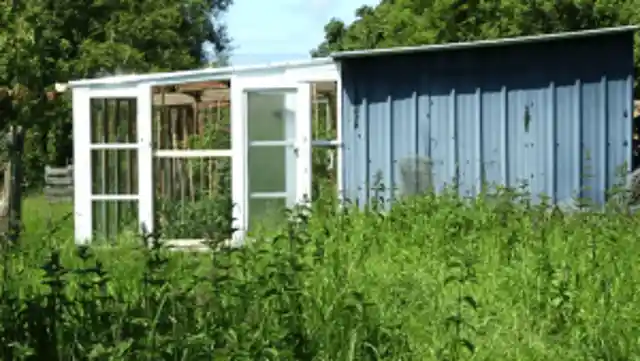
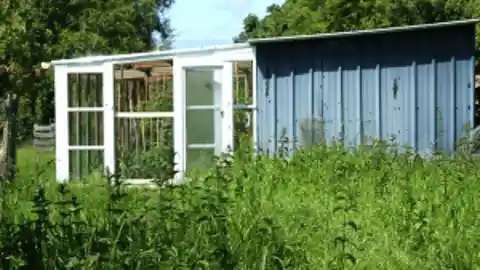
This beautiful veranda-style greenhouse comes with all the sweet charm of sitting on the porch on a Sunday afternoon. Best of all, it can be made almost entirely out of recycled materials, including old French windows with double-glazed wood frames, recycled wood from crates, timber from old ships, and many others. Materials with many stories can come together to make an enchanting new greenhouse.
While the design is very lovely, it’s definitely not the easiest to create. You will need some woodworking experience in order to do this project. With the right technique, you’re sure to create a masterpiece. If you love this greenhouse concept, follow the link below the image to learn more about materials, tools, and construction steps.
Slim And Simple
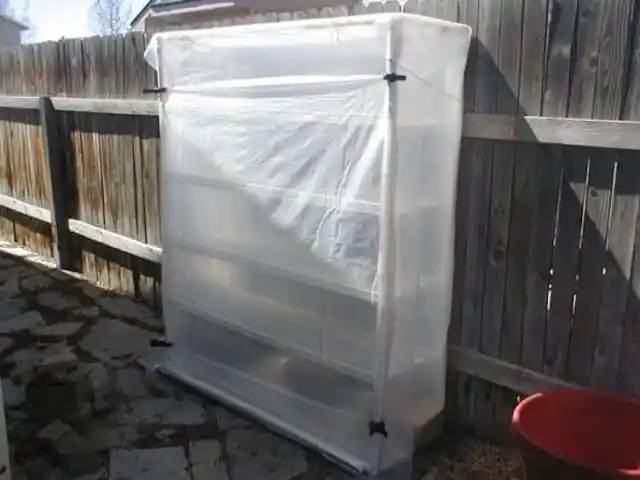
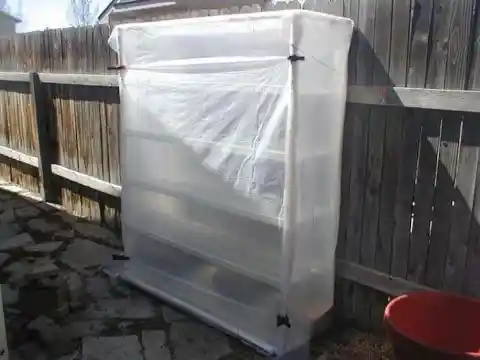
This next one is great if you’ve put things off to the last second. If you need something quick and easy, this DIY greenhouse is the perfect design to get something up fast, and get your plants started so they’re ready for planting in the coming season. This construction requires very few materials, and can be made in only a few hours.
To make this greenhouse, you’ll need PVC pipe, elbows with screw in slots, and connections. In addition, you’ll need a roll of clear plastic and some duct tape, as well as some tools for the construction process. To see all the required materials and step-by-step instructions, follow the link located beneath the image to get all the necessary information.
A Weather-Proof Greenhouse
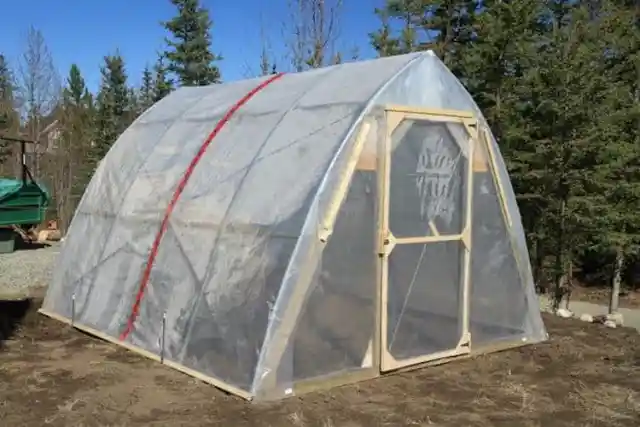
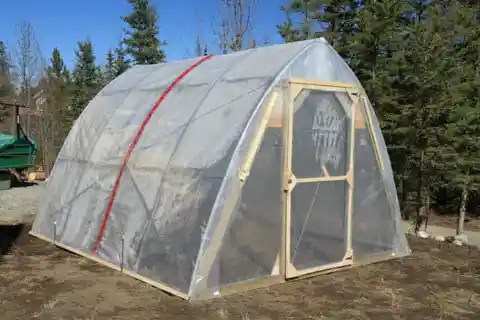
For those of you who live in colder climates, it’s important to build a structure that is going to hold up to extreme weather conditions, and stay strong for many years. If you live up north, this greenhouse just might be the perfect option for you. It’s designed to withstand heavy snowfall due to its design silhouette.
The gable design allows for snow to hit the roof, then quickly slide down the sides. Its foundation also keeps it firmly held down should there be strong winds. This project will require plastic sheeting, tie wraps, plywood, screws, and PVC tubing. You’ll also need some rebar, metal fence posts, and end brackets. To get all of the info for this construction, follow the link below the image.
A Work Of Art
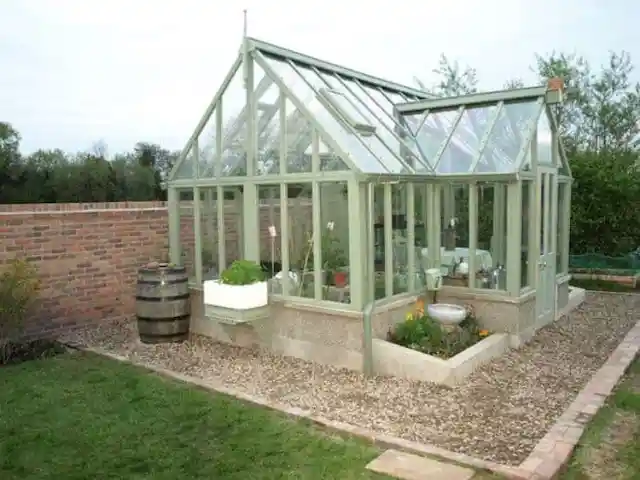
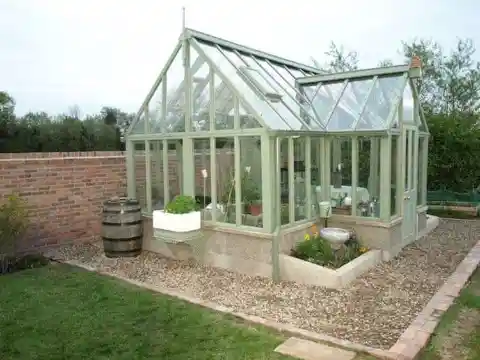
This next greenhouse is truly a work of art; and this project isn’t for the amateur builder by any means. It’ll require some refined skills. This structure will catch the eye of anyone who enters the garden. Due to the upscale materials needed in this design concept, this greenhouse is also not the easiest on the wallet, depending on where you source your supplies.
The creator of the project was able to pull together his resources to bring his total materials cost to around $3,000, which isn’t too steep considering the quality of the structure. If you’re curious to learn what went into making this greenhouse, and how you could make a similar one, follow the link below the image.
Monitor Your Greenhouse Over The Internet
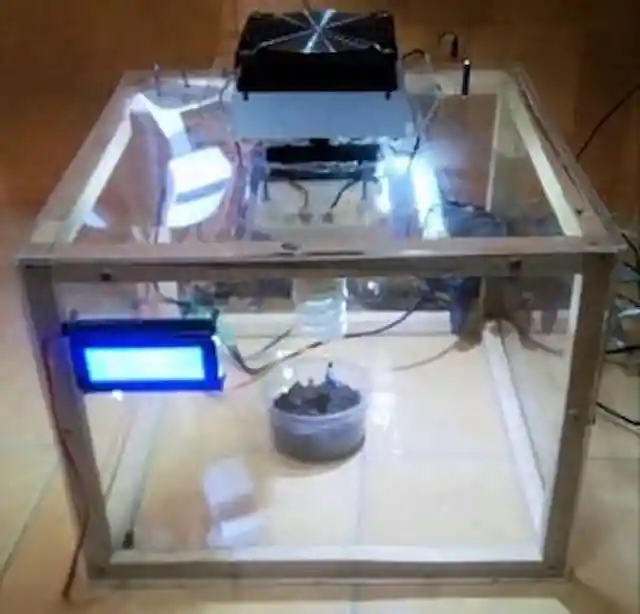
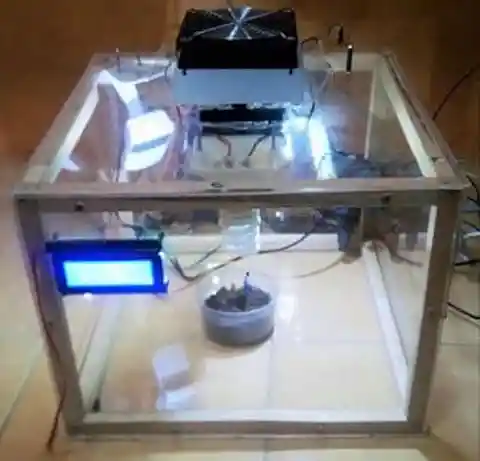
While the actual structure of this design is straightforward, this greenhouse is far from simple. Here’s another impressive automated greenhouse, equipped with technology that allows you to monitor it through the internet. Even when you’re at work – or on the other side of the world – you can keep an eye on your plants from your smartphone or computer.
You’ll need to be proficient with electronics in order to execute this project effectively. It’ll also require a long list of materials, but for a super high-tech greenhouse gadget, it’s all more than worth it. Follow the link located beneath the image to see the full list of materials. The creators also walk you through the many steps to bring this machine to life.
Cling Film Greenhouse
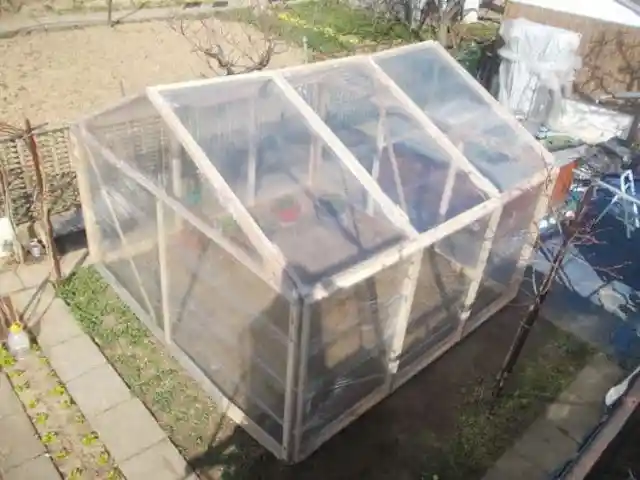
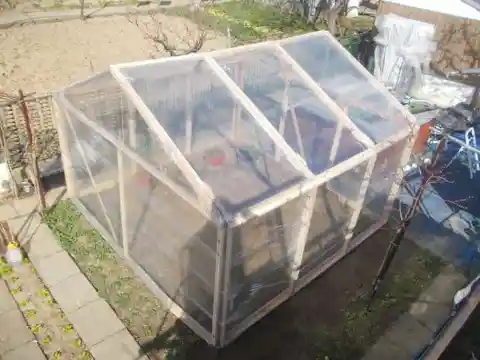
While polyethylene sheets are commonly used for greenhouses, working with a cheaper plastic source can definitely get the job done almost as well. You could make a greenhouse covered with simple stretch film. The image shows this application on a larger greenhouse, but the same concept can be applied to a smaller structure as well. The example shown required only $20 worth of stretch film.
To create this greenhouse, you’ll need some cling film, wooden slats, nails, and tape. The size of the wood will depend on the size of greenhouse that you want to create, as this design is a framework that can be applied to various sizes. To get more tips about how to start this project, visit the link located below the image.
Poly Pipe Greenhouse With Built-In Irrigation
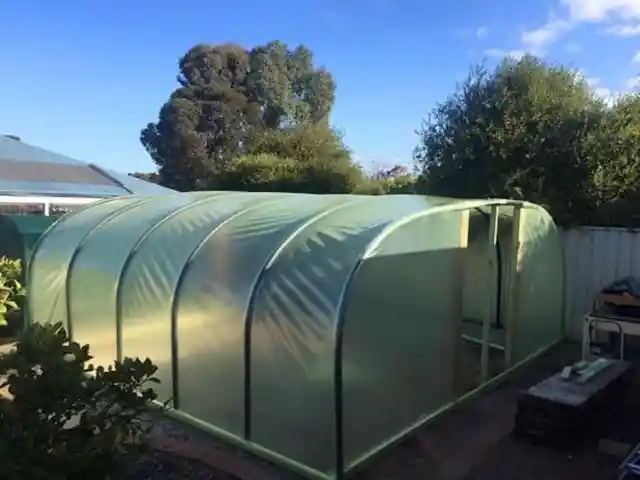
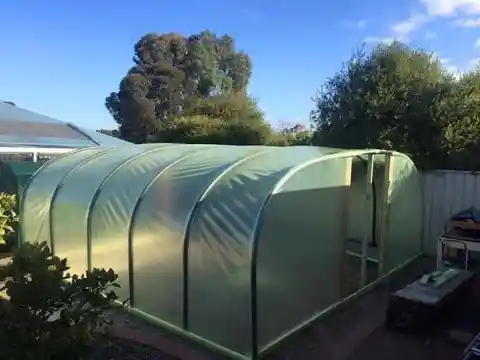
Here’s another example of a greenhouse that stacks functions. It was designed in order to be adaptive to the seasons, supporting the garden year-round, and changing to fit the current seasonal needs. During the colder times of the year, it serves as a standard greenhouse. During the warmer months, the greenhouse converts into a shade house, equipped with a built-in sprinkler system.
For those living in areas with extreme weather conditions, this could be a great option. To get started, you’ll need rural-grade poly, heavy duty builder’s plastic, star pickets, and many other materials. A full list of materials for the greenhouse and for the additional sprinkler system can all be found by visiting the link located under the image.
A Hydroponic Greenhouse In A Swamp Cooler
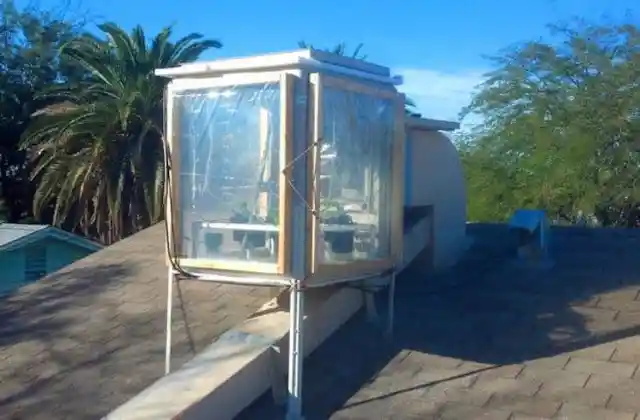
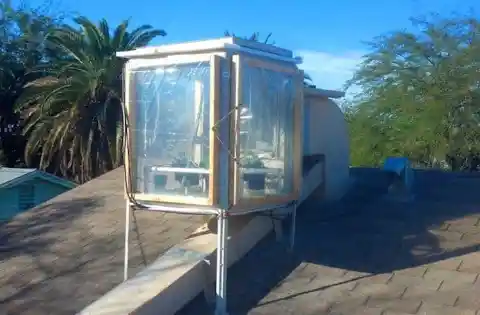
Now this one is new. You never thought to build a greenhouse in a swamp cooler, did you? Well now you can, and it includes a hydroponic system built into it. This two-in-one will allow you to grow your plants to maturity while keeping them in a controlled environment. Though the picture is unassuming, this design is actually quite sophisticated.
To get started with this project, of course you’ll need a swamp cooler, along with vinyl tubing, a rack for plants, clear plastic, wood, and screws. You’ll also need all of the supplies necessary to set up a hydroponic system. You can even take it to the next level by adding high-tech elements such as lights, a fan, a heater, or a data logger.
Solar-Power Ventilated Greenhouse
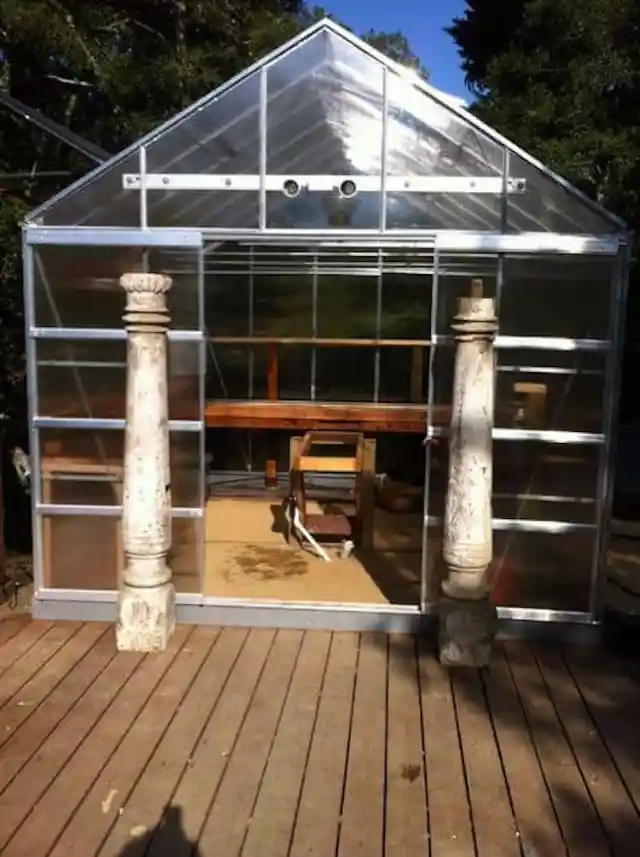
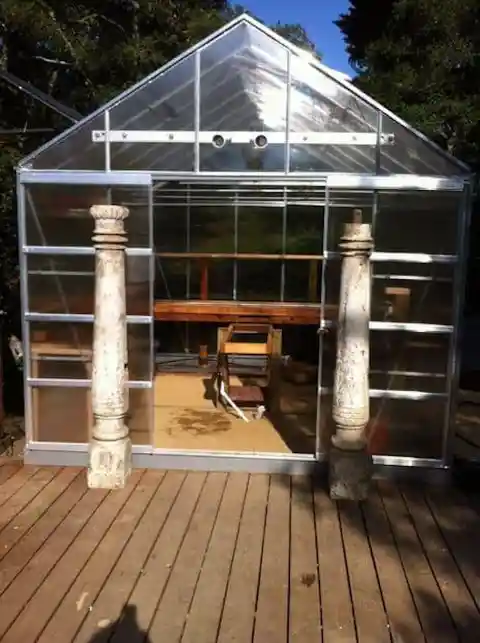
This greenhouse not only looks sophisticated, but it’s also equipped with some cool tricks. Though unassuming from the outside, this design concept comes with a hydroponic system on the inside, as well as a solar-power ventilation system. This may sound really fancy, but you’ll be relieved to find out that the entire project can be built on a budget of less than $600.
To construct this greenhouse, the creator of the project started with a greenhouse kit to make it simpler. This one was made with a 10’ x 12’ kit from Harbor Freight, but other greenhouse kits will work, depending on your needs. To learn more about the details of this project, follow the link located below the image to learn more.
A Small Portable Greenhouse
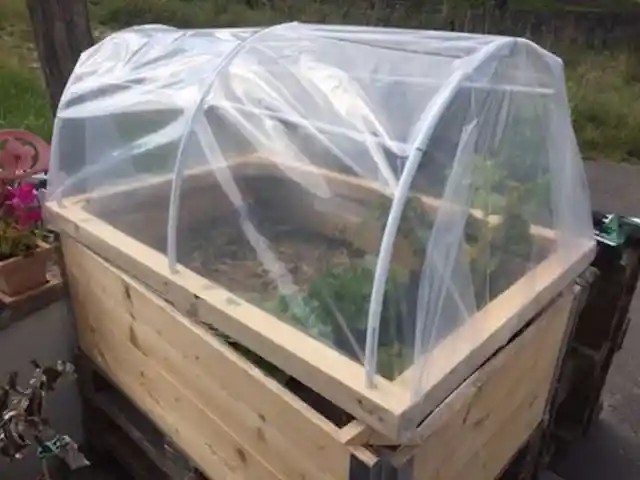
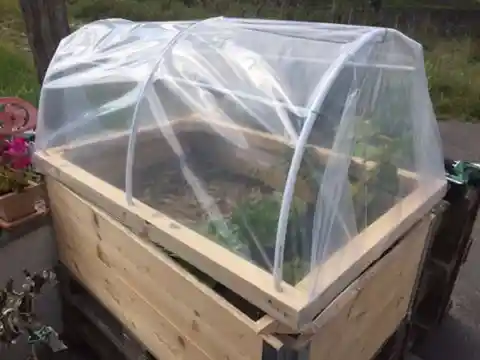
Here’s a portable greenhouse that simply sits right on top of a garden bed. This makes it very easy to move around, depending on which beds in your garden need coverage at the moment. This design is meant only for smaller plants, as the hoops don’t extend very high, but it could work perfectly for some of your vegetables and herbs.
The design is also very simple, and could likely be built over a weekend. To get started, you’ll need two 32” wood pieces, two 44” wood pieces, four metallic angle brackets, 4 x 30 mm screws, a 10–15 m plastic tube, and finally, plastic film. Follow the link under the image to learn more about this process.
A Recycled Window Cold Frame
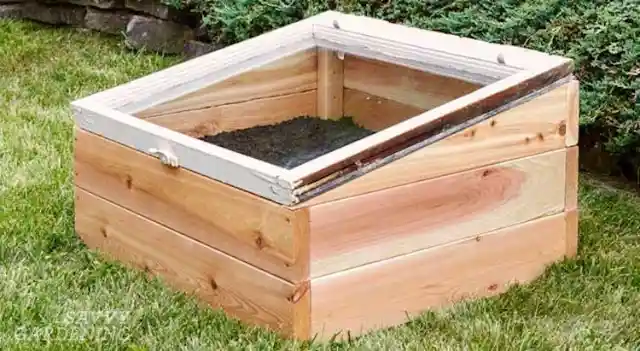
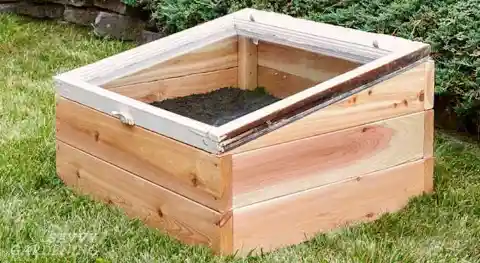
Here’s another seedling greenhouse that’s very aesthetically pleasing, and will add a lovely charm to the garden. It’s like opening a window into the fantastical realm of your garden bed. Best of all, it’s very easy to build, and requires only a few readily available materials. Once you have all of your tools and supplies, this project could likely be completed in just a few hours.
To make this DIY greenhouse, you’ll need cedar boards, hinges, screws, and an old window with the dimensions 32 ¼” x 30”. You’ll also need some tools, including a few types of saws, an orbital sander, a power drill, a pencil and straightedge, tape measure, and clamps. To bring this to the next level, you can even paint it, adding to its charm.
Automated Closet Greenhouse
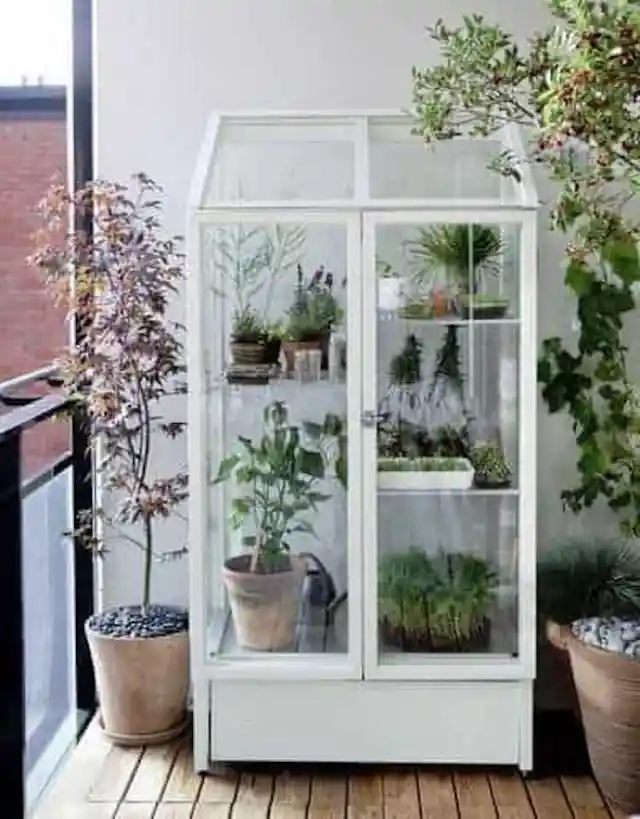
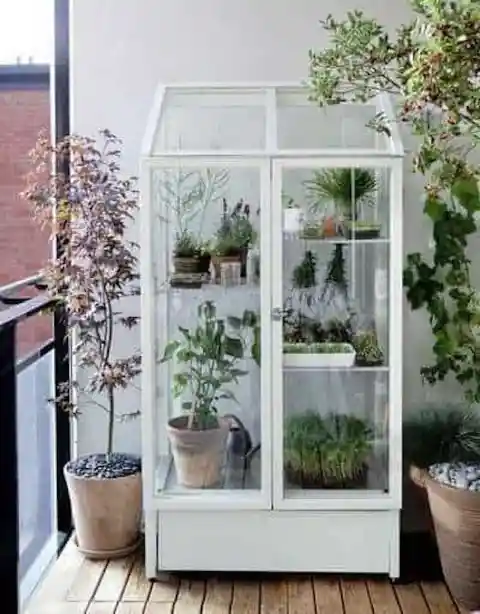
Several automated greenhouses have been featured on this list. While they’re all very impressive, the downside is that many of them are quite small, housing only a few seedlings and small plants. If you’re looking for a high-tech option, but need a bit more room to store your plants, this could be a great project to fit your needs.
It’s important to note that this project is one of the more complex designs featured here. If this’ll be your first time diving into electronic circuits, you may want to start with some of the other projects on the list. If you’re feeling up to the challenge, follow the link located below the image to read more about all of the equipment you’ll need.
A Simple Windowsill Greenhouse Using Recycled Materials
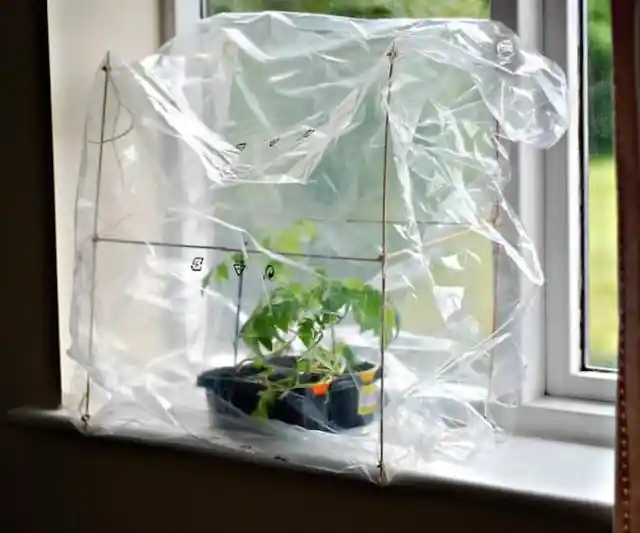
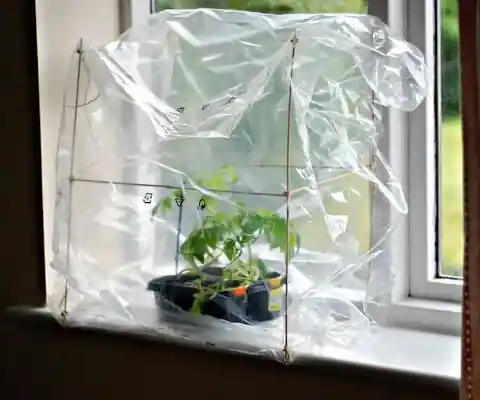
This next greenhouse is just about as simple as it gets. If you’re looking for a project that requires minimal effort, this is the perfect greenhouse option for you. This windowsill greenhouse is made completely out of upcycled materials. This means you’ll likely spend nothing on this project. And best of all, it can be completed in no more than an hour.
To make this windowsill greenhouse, you’ll need to gather some wooden skewers or sticks, and a clear plastic bag or plastic sheeting of any kind. You’ll also need a cutting tool, and glue or thread. It’s really that simple. To learn more about the steps to put this greenhouse together, follow the link under the image.
A Fruit Basket Greenhouse
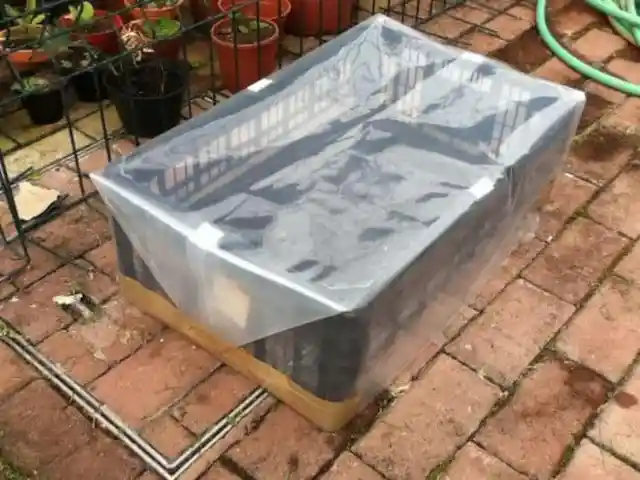
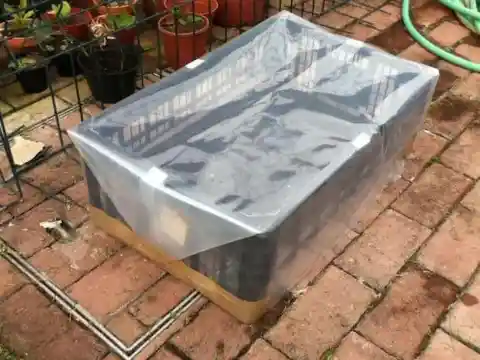
Just like the last one, here’s another greenhouse that’s as simple as finding materials around the house and throwing them together. Putting together a large greenhouse isn’t always in the cards. In some cases, a quick option is perfect for what you need. This one is especially optimal if you simply need a greenhouse for germinating your seeds for the upcoming season.
To make this simple greenhouse, you’ll need a plastic fruit basket. You’ll also need some plastic film and duct tape, as well as a blade and pliers. This is truly a DIY project, so if you don’t have the exact materials, you may have something lying around that’ll work just as well. To see the full step-by-step instructions, follow the link under the image.
A Medium-Sized Greenhouse For Under $25
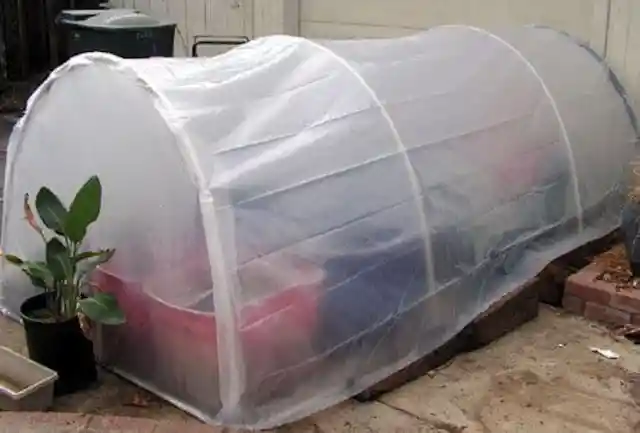
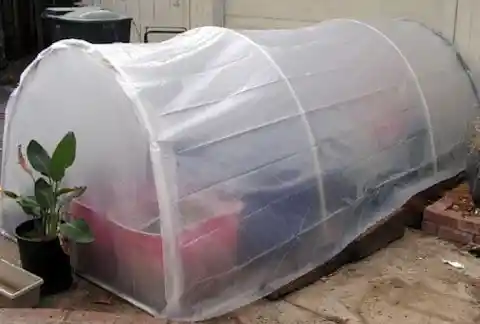
If your budget is a bit tight, but you need more space in your greenhouse, rather than one of the small options on this list, this DIY greenhouse will be a great option for you. This design is very straightforward and simple to construct, and it’ll cost no more than $25. You’ll just need a few materials to get started.
The bulk of the investment for this project will be the plastic sheeting, PVC pipes, three-port elbow connectors, adapters, as well as primer and PVC cement. For tools, you’ll also need some scissors, zip ties, and a hacksaw. To see the full list of materials and instructions, follow the link located under the image to get started.
An Insulated Raised-Bed
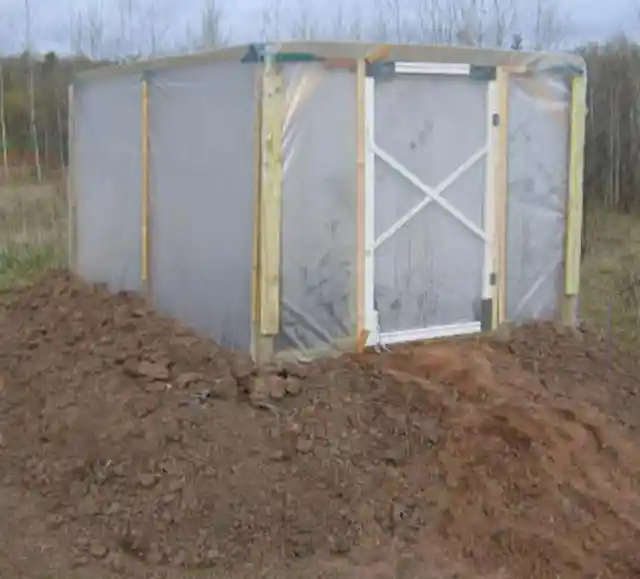
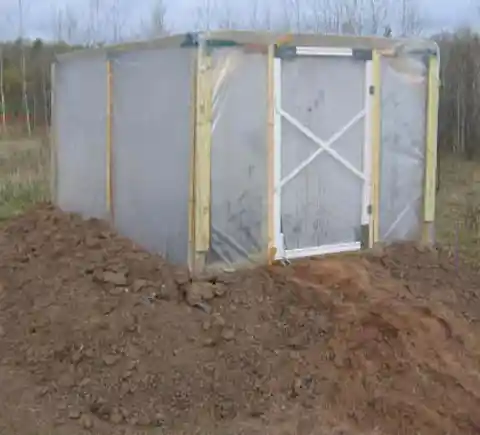
Though it isn’t the most aesthetically pleasing of greenhouses, this simple project is sure to get the job done. With just some basic knowledge of woodworking skills, anyone could construct this greenhouse with no problem to keep their plants protected. To make it, you’ll need hard insulated foam, fence posts, multiple sizes of treated boards, and some treated plywood.
Some extra materials include metal corner brackets, hinges, plastic sheeting, galvanized framing spikes, screws, as well as clay, dirt, topsoil, and gravel. All of the amounts and sizes are outlined on the site, along with a full list of instructions. Follow the link located below the image for more info.
Greenhouse Extension
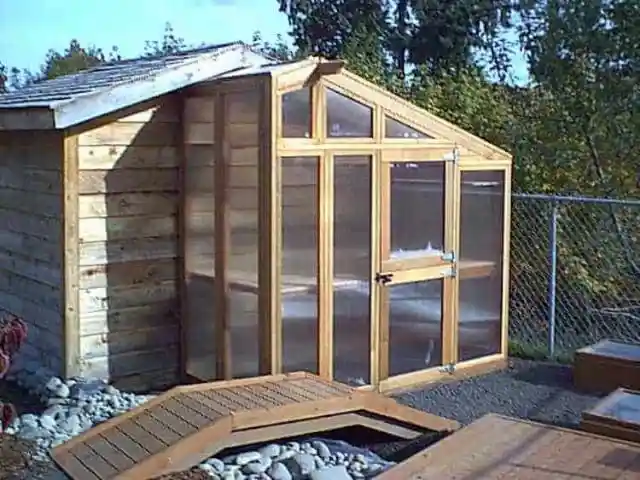
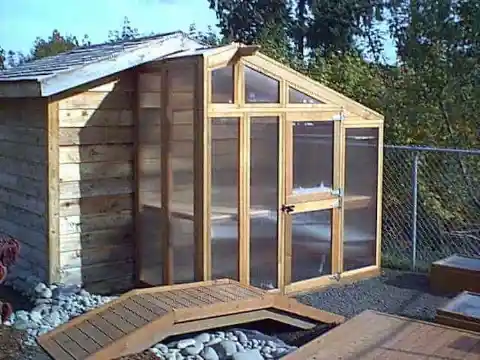
This greenhouse extends from the backside of a cabin. You saw the simple fold-down greenhouse that utilized an existing wall earlier. That greenhouse was very simple, and used minimal supplies. This one uses a similar concept, but is a bit more sophisticated in its design and execution. It’s quite beautiful the way it comes out from the house.
With some basic woodworking skills, this is a pretty simple construction, though it’ll surely take some time. If you can get a group of friends to help out, it’s sure to be faster and more fun. The creator of this greenhouse design outlines all of the necessary equipment and instructions so that you can bring your project to fruition. Visit the link located below the image to learn more.
Black & Decker Greenhouse
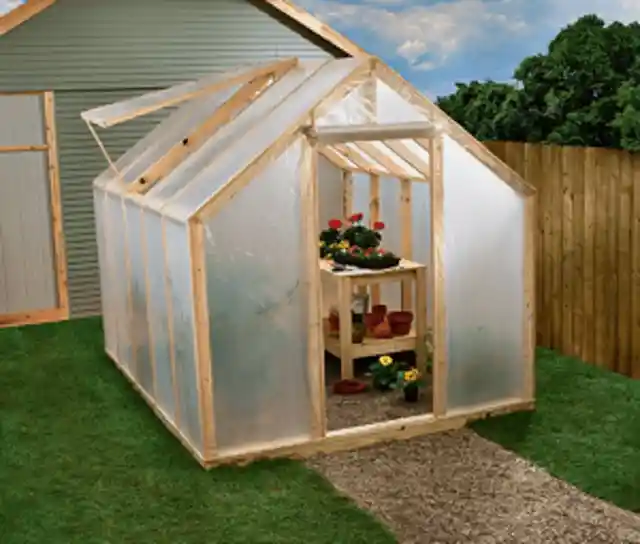
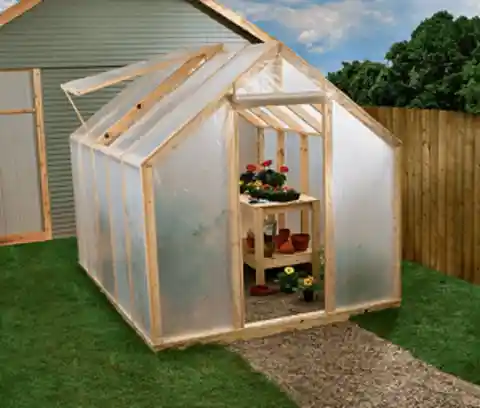
For those who are interested in making a greenhouse that looks sophisticated without the hard work of construction, a great option is using a straightforward guide so you can skip out on the measuring and cutting. This Black + Decker DIY greenhouse is a beautiful option. It has a simple yet refined look, and can be constructed in only a day.
The supplies you’ll need include a roll of polyethylene sheeting, No. 3 rebar, timber screws, gravel, excavation tools, a large hammer, and reciprocating saw. You’ll also need wire brads, a brad-nailer, deck screws, a tape measure, utility knife, and scissors. Follow the link below the image for the full materials list, as well as step-by-step instructions from Black & Decker.
YellaWood Greenhouse
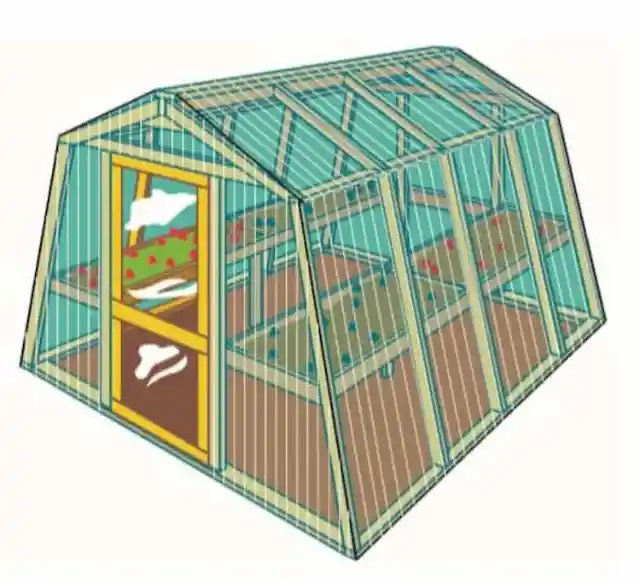
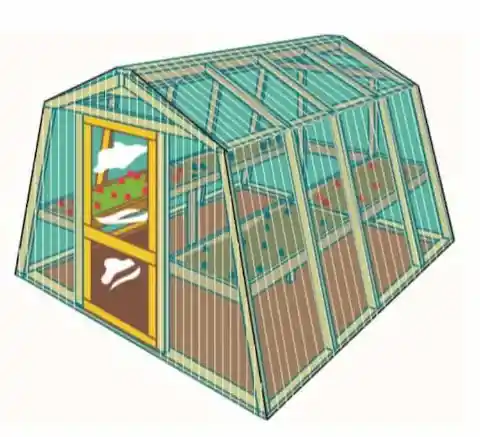
Like the last one, here is another pre-made construction plan that you can simply follow to make a perfectly designed greenhouse. YellaWood, a well-known lumber company, has created a detailed plan that you can follow to create a greenhouse that is strong and functional. While YellaWood provides lumber, of course, you can use lumber from another source, or even what you have lying around.
For this project, you’ll need lots of lumber of different sizes, as well as some plywood, fiberglass panels, a vinyl or galvanized door, hinges, neoprene washers, and nails. If you’re interested in following this DIY process, you can find all of the necessary materials and instructions that’ll help you bring this project to fruition by visiting the link below the image for more info.
A Lovely Seedling Home
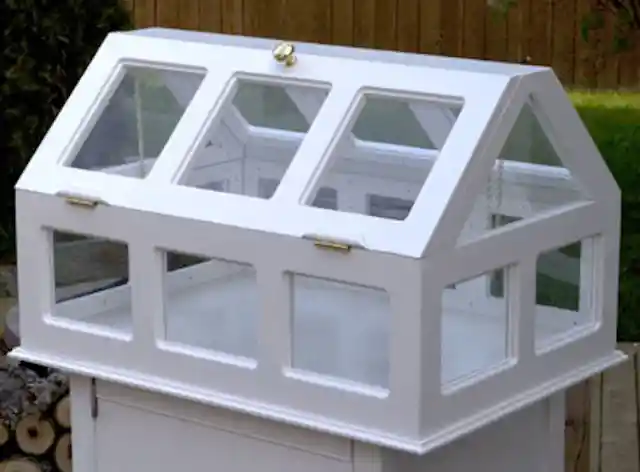
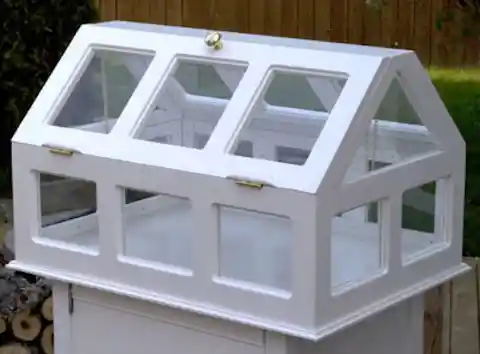
Here’s another home for your seedlings, meant only for their germination phase, after which they’ll need to be transplanted either to another greenhouse or into the soil. This greenhouse design includes a roof that folds down, allowing you to access your seedlings from above without much hassle. Not only does this make for easy tending, but it also adds a very sweet aesthetic to the structure.
Although this greenhouse is very attractive, it doesn’t require many supplies, and can be constructed fairly quickly by anyone with even a basic knowledge of woodworking. If you’re curious to see all of the supplies and instructions necessary to complete this project, visit the link located below the image for more information.
Fold-Up Greenhouse
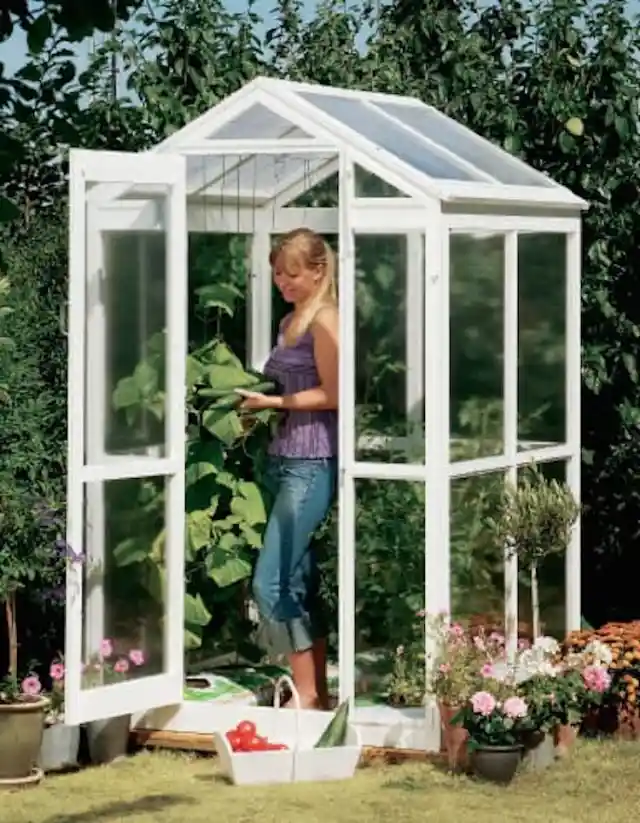
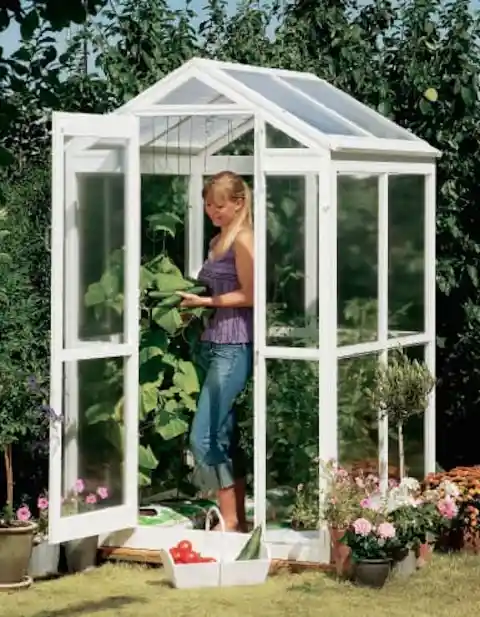
For some gardeners out there, you may not need a greenhouse in the garden space all year long. Wouldn’t it be great to have your greenhouse out when needed, and then be able to tuck it away the rest of the year, freeing up more space in the garden? That’s exactly what this DIY greenhouse does. It folds right up and stores easily in a garage or other storage area.
To get started with this project, you’ll need a few more materials than you would for a standard greenhouse, as this one needs to be foldable. But the extra supplies are well worth the additional cost. The creator of this design has outlined all of the necessary materials and instructions in order to create this masterpiece. Visit the link located below the image to learn more.
Greenhouse With A Fold-Up Top
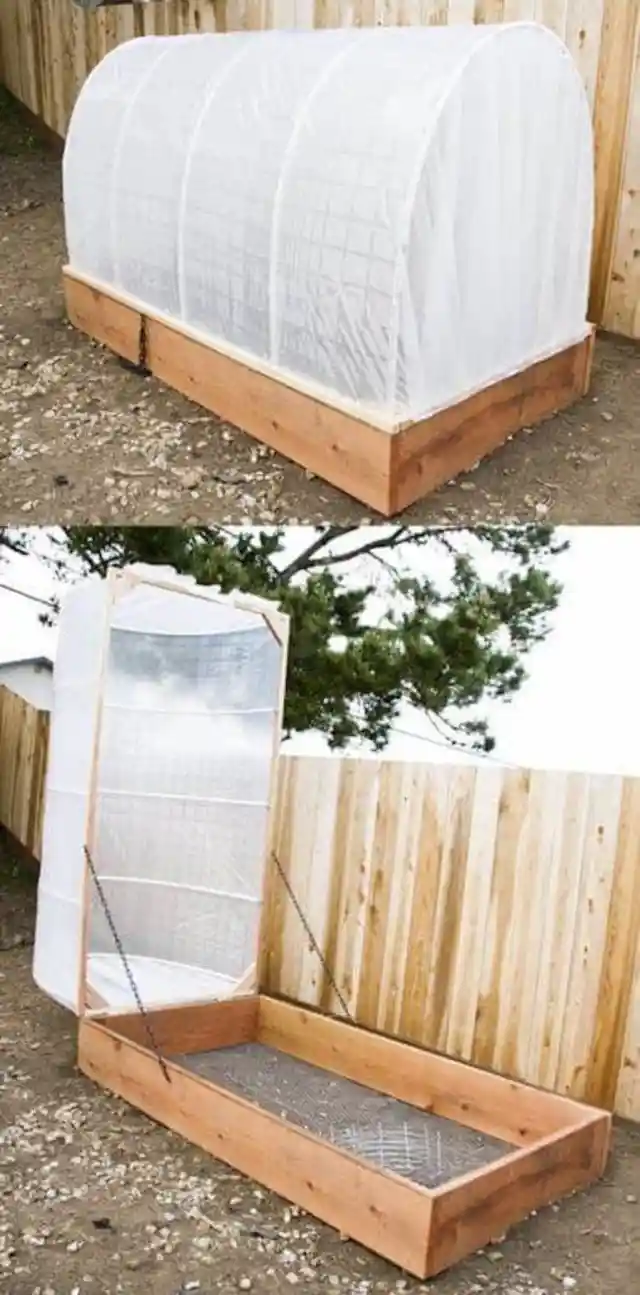
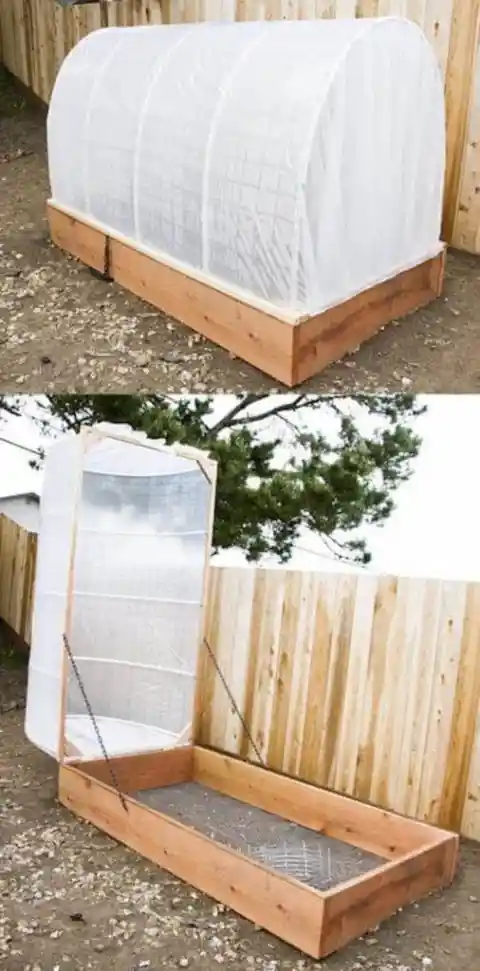
This next greenhouse design is very unique, as its cover is hinged, allowing you to keep it up or down depending on what is currently needed in the garden. Though it may look a bit complex, the concept is actually surprisingly simple to build. It should take no more than one day to make this design a reality.
To build this greenhouse, you’ll need pieces of redwood of various sizes for the frame and top. You’ll also need some wood screws, PVC pipes, pipe clamps, chicken wire, wire mesh, plastic sheeting, zip ties, eye hooks, and hinges. As far as tools go, you’ll need a drill, staple gun, and miter saw. Visit the link below the image for all of the necessary info.
Greenhouse Made With Repurposed Windows
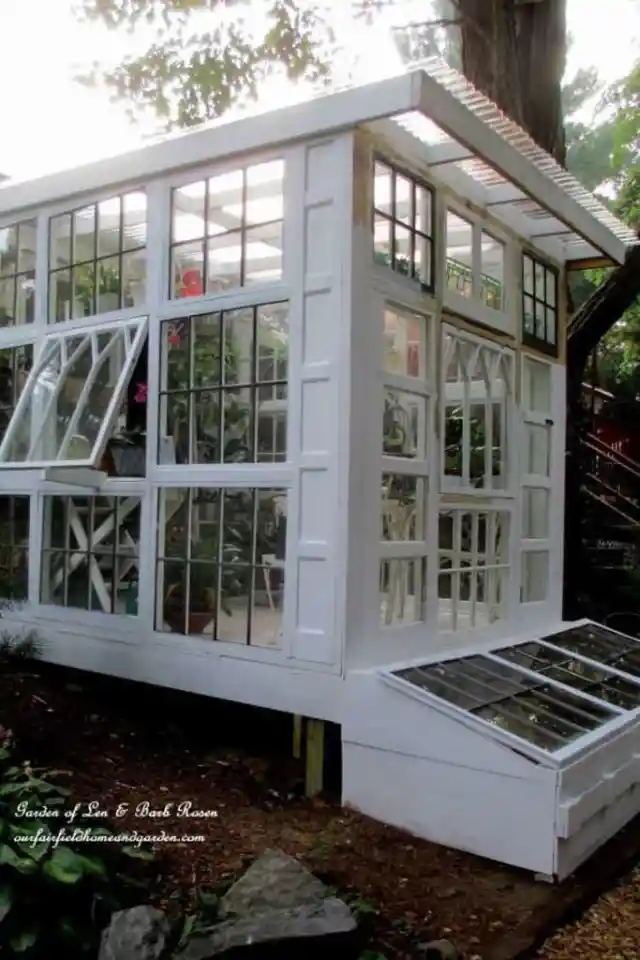
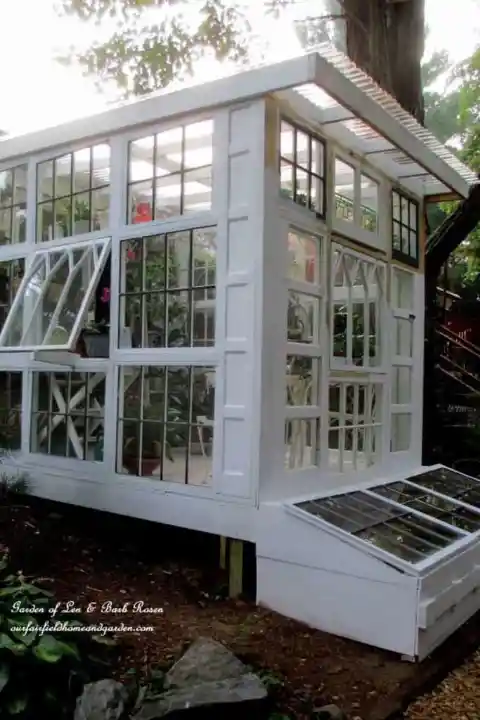
If you’re all for the upcycled window style, and want a full-sized greenhouse, this design is absolutely stunning. This is definitely one of the most beautiful greenhouses featured on this list. However, it’s also one of the most expensive. The person who owns the greenhouse featured in the image spent $1,695 on materials, and over $2,000 on labor, totaling $3,695 in actual costs.
If you’re willing to make the investment, this greenhouse is sure to make a great addition to your garden. There are also thrifty ways of cutting down on costs by upcycling lots of the materials, and building it with friends rather than hiring workers. With these efforts, you may be able to bring the cost down to $1,000 or lower.
Portable Can Greenhouse
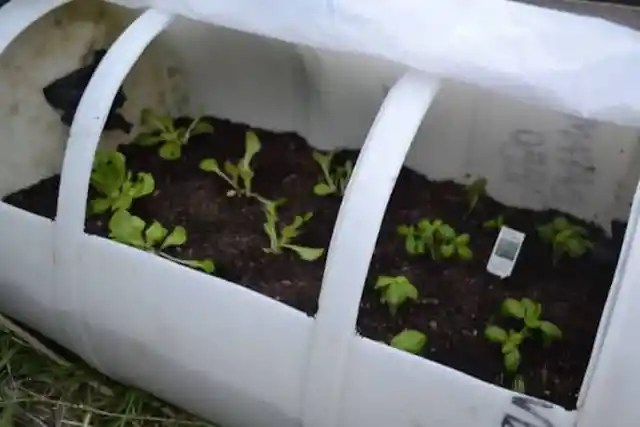
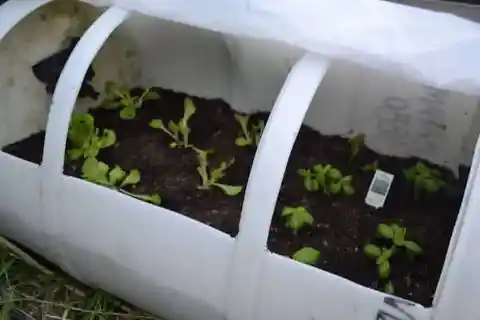
This can greenhouse is compact, portable, and incredibly simple to put together. The whole process, from start to finish, should take no longer than a few hours to complete. There are only a few materials you’ll need in order to construct it, which can usually be found and purchased easily. However, you can even use recycled materials that you have lying around.
The primary material for this greenhouse construction is a large plastic can. You’ll also need a sheet of transparent or semi-transparent UV-coated plastic, as well as screws, nuts, plywood, duct tape, a slat, and finally a bike tire’s inner tube. Some of these supplies may sound strange, but if you’re curious how they all come together to create this greenhouse, visit the link below the image.
Rooftop Greenhouse
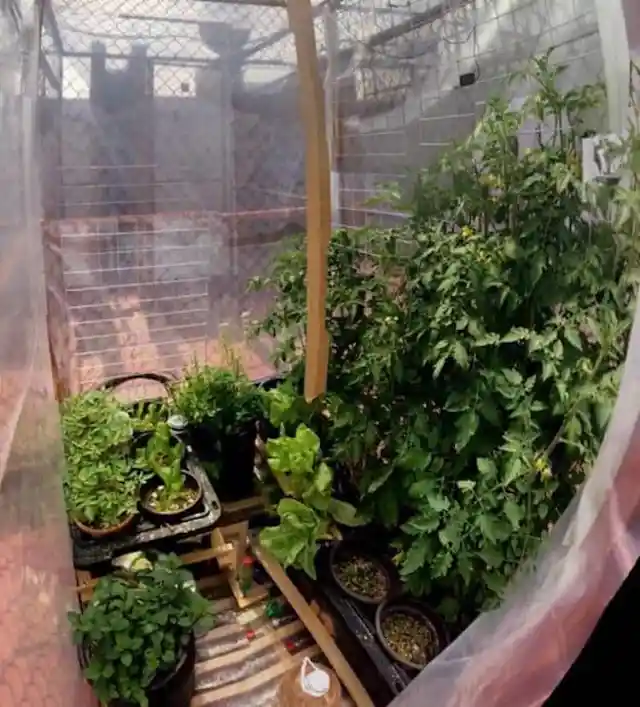
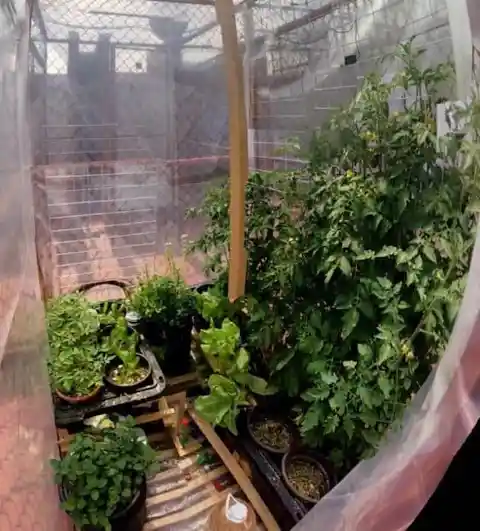
Now here’s a new one. Did you ever think to put a greenhouse on your roof? For those with a rooftop that’s flat and spacious, this project might excite you. Rooftop greenhouses can be optimal as they receive maximum sunlight exposure, unless you’re surrounded by tall trees. They also allow for more space in the actual garden, allowing for more plants.
To make this rooftop greenhouse, you’ll need 100-liter plastic boxes, plastic pots and containers, buckets, wood of various sizes, UV-coated plastic, un-annealed wire, metal grids, and a few more hydroponic materials. You’ll also need to ensure that your roof can support the weight before you start. If you’re curious to see how this works, you can visit the link under the image to read the whole process.
Greenhouse Made With Coffee Stirrers
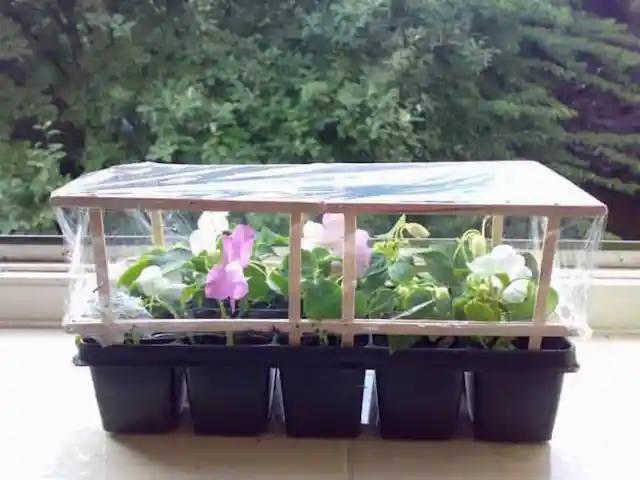
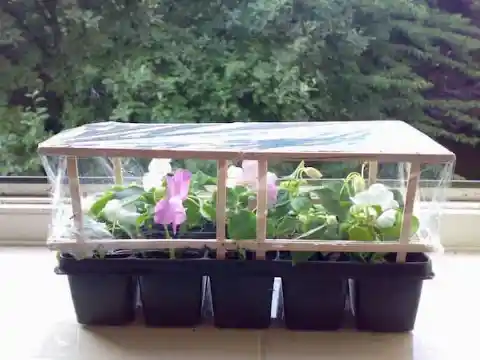
This one is definitely one of the simplest designs on the list. Using materials you likely have lying around the house, or could easily find at a craft store, you could put this mini greenhouse together in less than an hour. This is a great option for gardeners who need a last minute support for their seedlings as they germinate.
To make this greenhouse, you’ll need 30 wooden coffee stirrers, sheets of cling film, a marker or pen, glue, a cutting tool, a ruler, and scissors. That’s all there is to it. To learn more about how to put this greenhouse together, visit the link located under the image for more info.
Complex Greenhouse
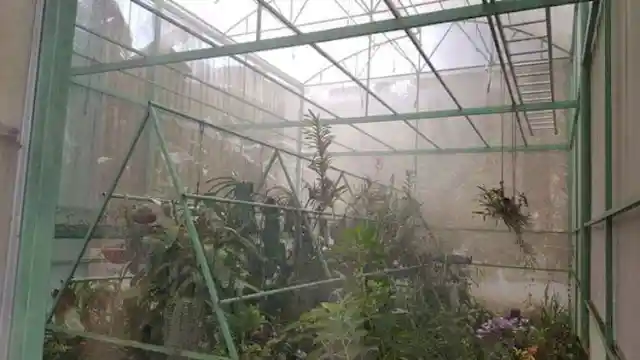
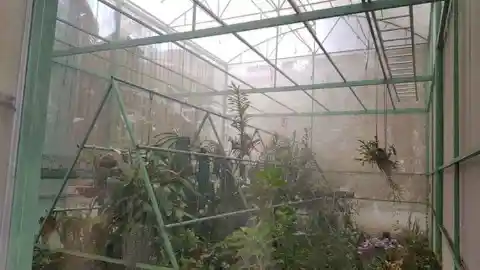
This next one is the greenhouse for those of you who want to go above and beyond. This greenhouse is potentially the most detailed of the whole list, incorporating many complex elements to add function and aesthetic value to your garden, while holding many plants through their growth. Some of the elements include a built-in mist system, as well as air filters.
This project won’t be as budget friendly as some of the others we’ve discussed, but it’s worth the investment for the beautiful structure you’ll end up with. If this project is of interest, you can look into the full list of materials and step-by-step instructions to get started by visiting the link located below the image for more info.
SerreMatic
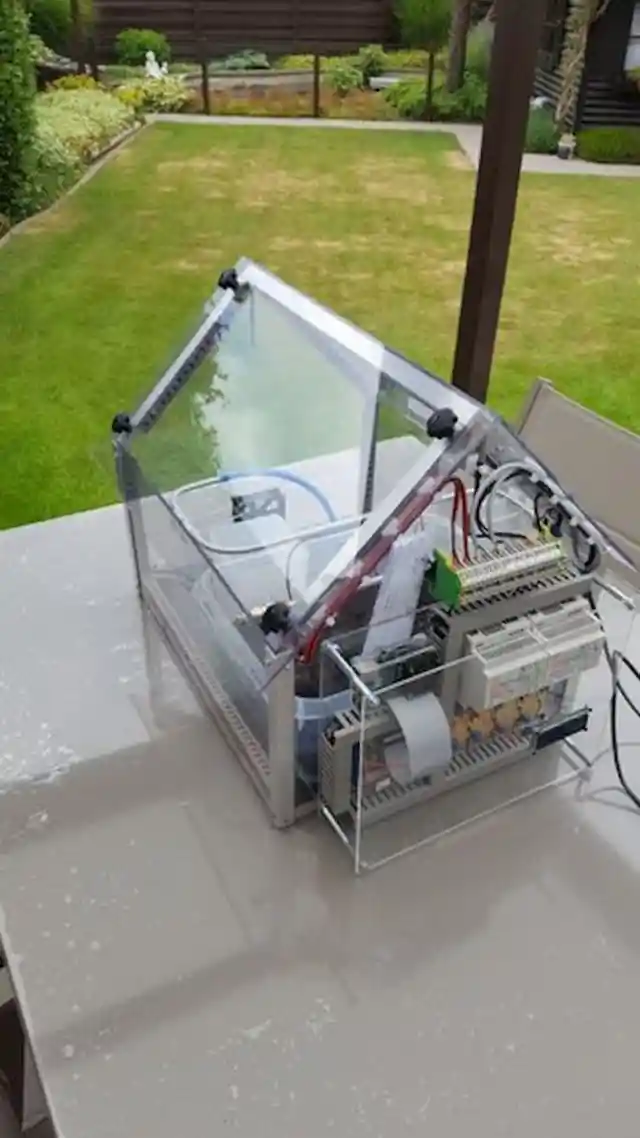
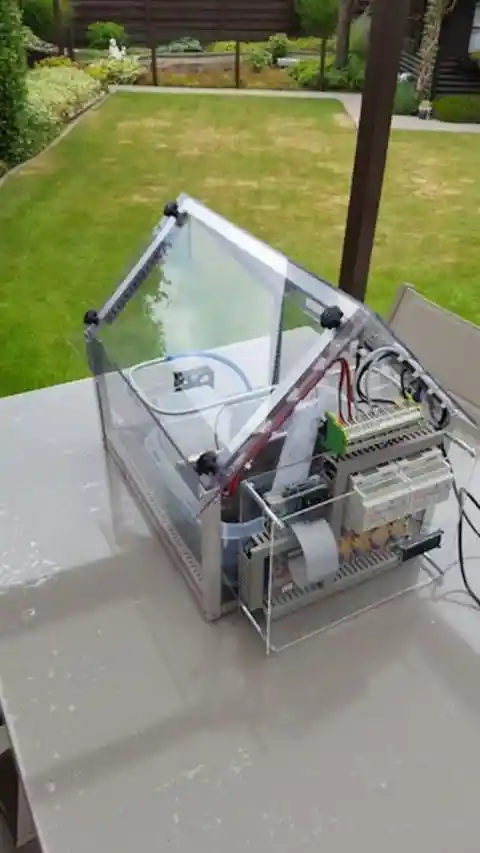
Here’s another fancy automated greenhouse. This one is really special. It may take some time to set up, but after that, you’ll barely have to do any work. This greenhouse has a built in automatic water system that knows when to water, as well as a light adjuster to ensure your plants get optimal levels of light and dark. It even provides extra light on cloudy days.
Because the moisture sensors work with the irrigation system to provide optimal water, it’ll use only the amount of water that’s necessary, allowing you to save more water than you would with a traditional watering system. If you’re interested to learn all of the complex systems that go into making this high-tech greenhouse, visit the link located below the image for more information and instructions.
Greenhouse In A Jar
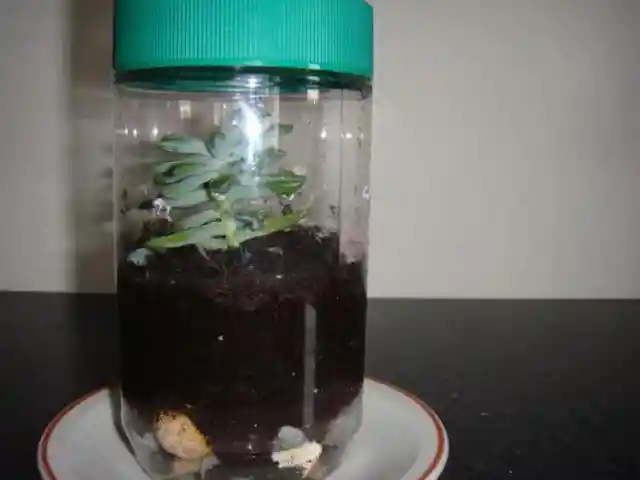
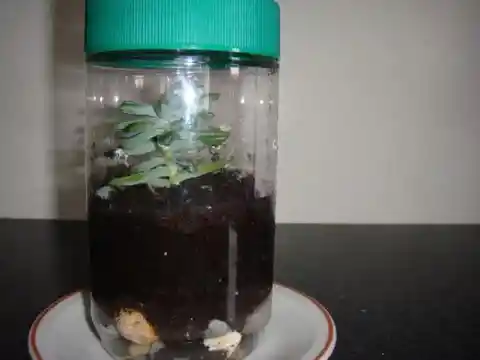
Here’s another super simple greenhouse idea that uses materials you’ll most likely already have, or can buy for almost nothing. Basically, all you need to make this is a jar. In addition, the materials list includes some rocks and nails. And that’s it. This is pretty much as simple as it gets. An added benefit is that this greenhouse is very portable.
If you like this concept, you could even make several of them and keep lots of plants together in your greenhouse jar collection. The process of construction is very straightforward, so you may already be able to see how to do it. If you still need some clarification, or want to get some tips for the best way to make it, you can visit the link below the image.
Touch Screen Greenhouse
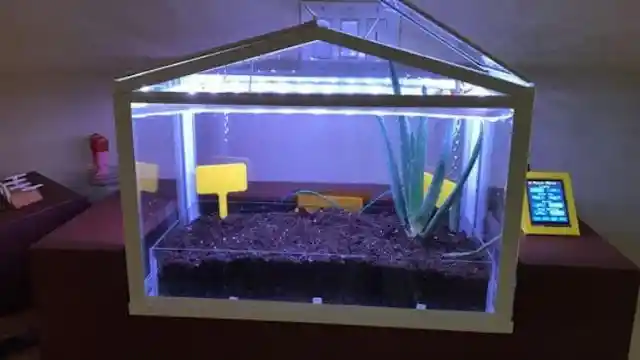
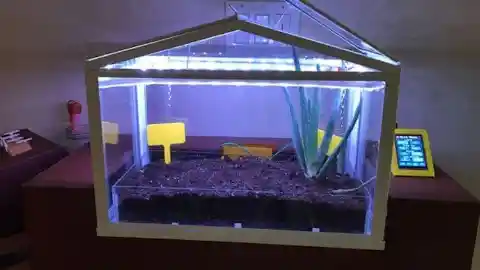
On the trend of high-tech greenhouse designs, this one adds an extra exciting feature. This greenhouse operates through a touch screen. One thing to note is that this greenhouse is meant only for indoor use, as it wouldn’t be a good idea to expose it to water or extreme weather conditions. The foundation for the design is simple, starting with a mini greenhouse.
You could opt for a prepared kit, or you could make one yourself if you’d like to go above and beyond. After you have the greenhouse, the rest is added on to it. You can be sure that the materials list for this one isn’t short by any means. But all of the supplies can be found fairly easily. To get started with constructing your touch screen greenhouse, visit the link below the image for more info.